Architecture Studio Supplies
These are the modeling, drafting, measuring, and presentation tools I used in school and still use today in my design business. Make sure you download my Studio Checklist below so you can keep track of which supplies you need. If you’re unsure about what some of these tools are or how to use them, check out my Keywords page.
Disclaimer: Some of the links below are affiliate links. Please understand that I have experience with all of the products I recommend, and I recommend them because they are helpful and useful, not because of the small commissions I make if you decide to buy something. Please do not spend any money on these products unless you feel you need them or that they will help you achieve your goals.
I often update this page so you may want to bookmark it!
Download the interactive checklist to make sure you don’t forget anything!
Click on any category below to jump to that section.
Drafting & Modeling
Measuring
Presentation
Updated 07/08/2025
Drafting & Modeling Tools
Drafting, sketching, and modeling are things you’ll be doing throughout school and your career in architecture. If you invest in quality items, most of these tools will last you a lifetime so you’ll never have to buy them again! Keep in mind that some of these tools may be offered by your school or the office you work in and you can always share supplies with friends to keep your costs down. Here are the studio tools I use and love!
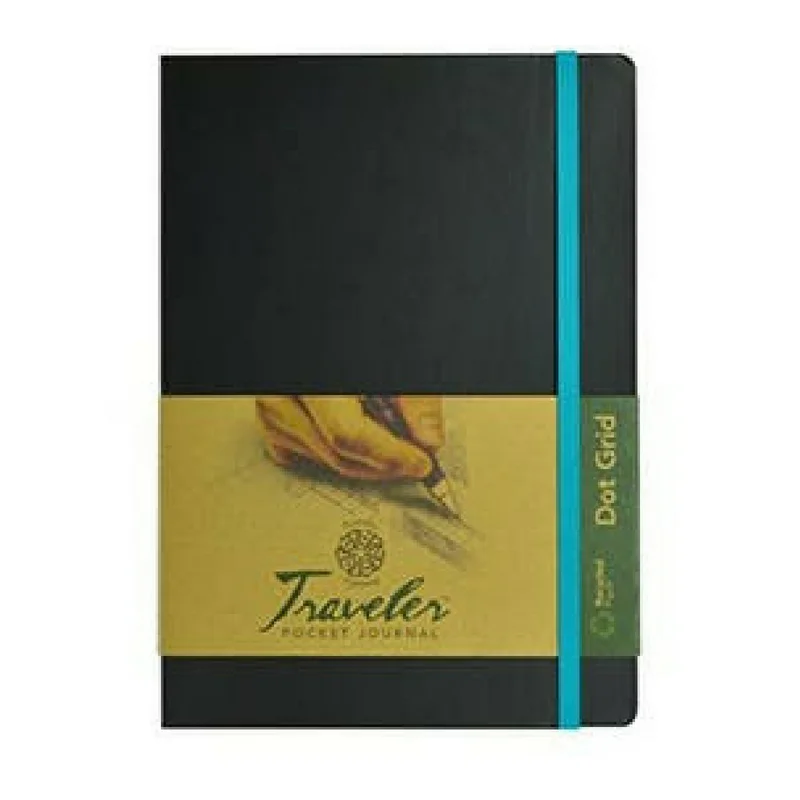
sketchbook
I love having a smaller sketchbook that I can take around with me everywhere I go! This sketchbook has a dot grid that helps as a soft guide without being a solid grid.
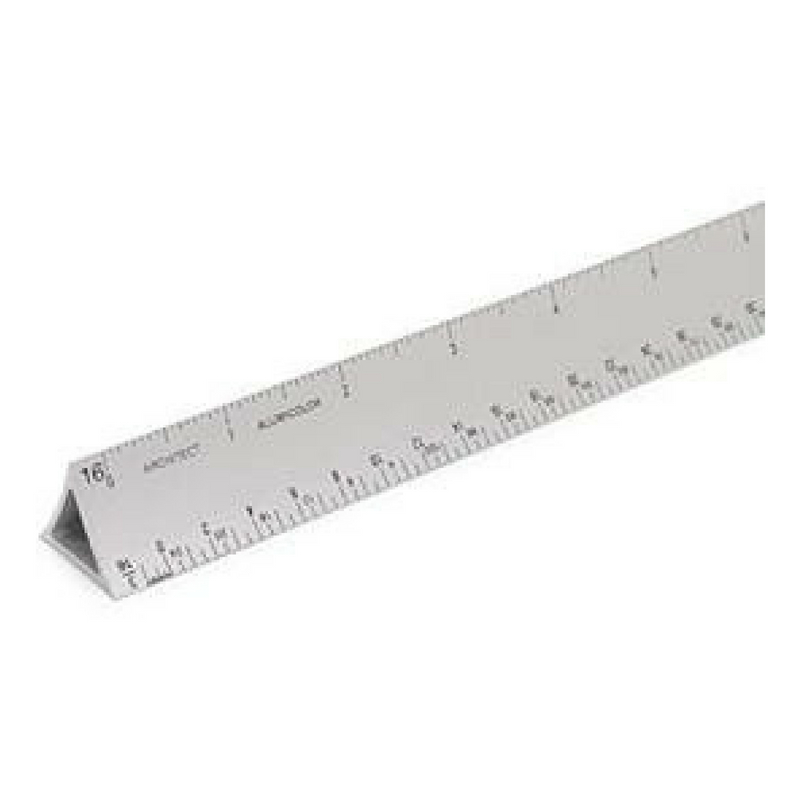
Architectural Scale
A fundamental tool for architecture! I always recommend getting more durable supplies so I definitely recommend aluminum over plastic scales since they’ll be more durable and last longer.

Trace Paper
Trace paper is much needed for sketching out new designs and sketching over existing drawings! I like to get a 12" roll for smaller sketches and a 24" roll for working over full sized drawing sets.
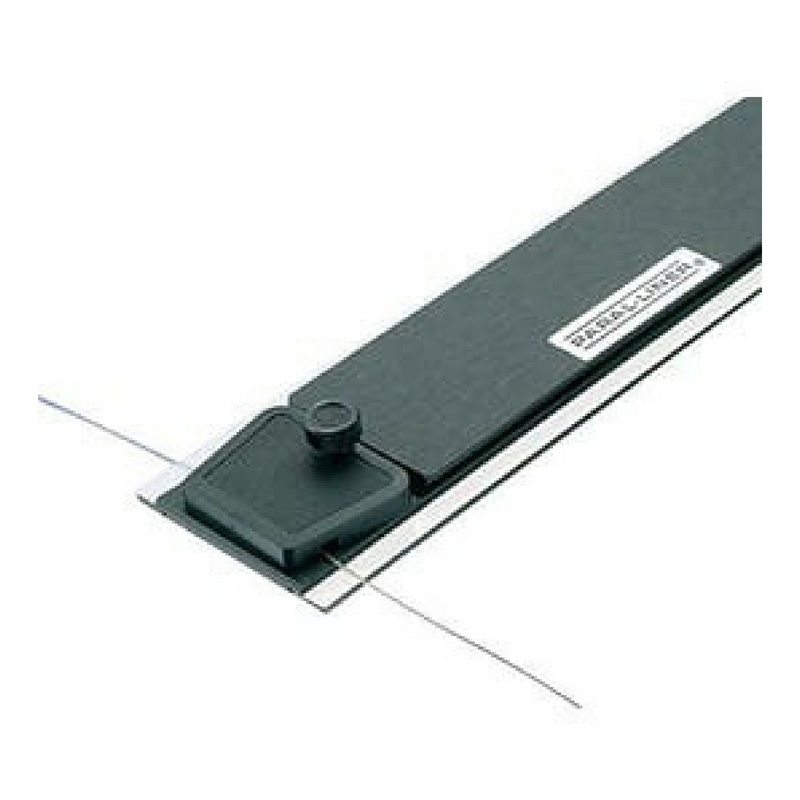
Parallel Ruler
Essential tool when hand drafting to align drawings and draw straight lines. Align your triangles along the ruler for angled lines!

Hot Glue Gun
Hot glue guns are what you'll be using on study models or in places on final models that you wont see. You may want a mini glue gun too for tight spaces.
Easy Cutter
Easy cutters a perfect for cutting things like balsa wood and wooden dowels. It even has markers to help guide angled cuts!
Vyco Drawing Mat
A Vyco drawing mat covers your desk to provide a smooth surface for drafting or sketching.

Desk Lamp
An architectural desk lamp can be mounted to any table without taking up any desk space!

Olfa Knife
This is a more heavy duty knife used to cut thicker materials like chipboard and plexiglass while making models.
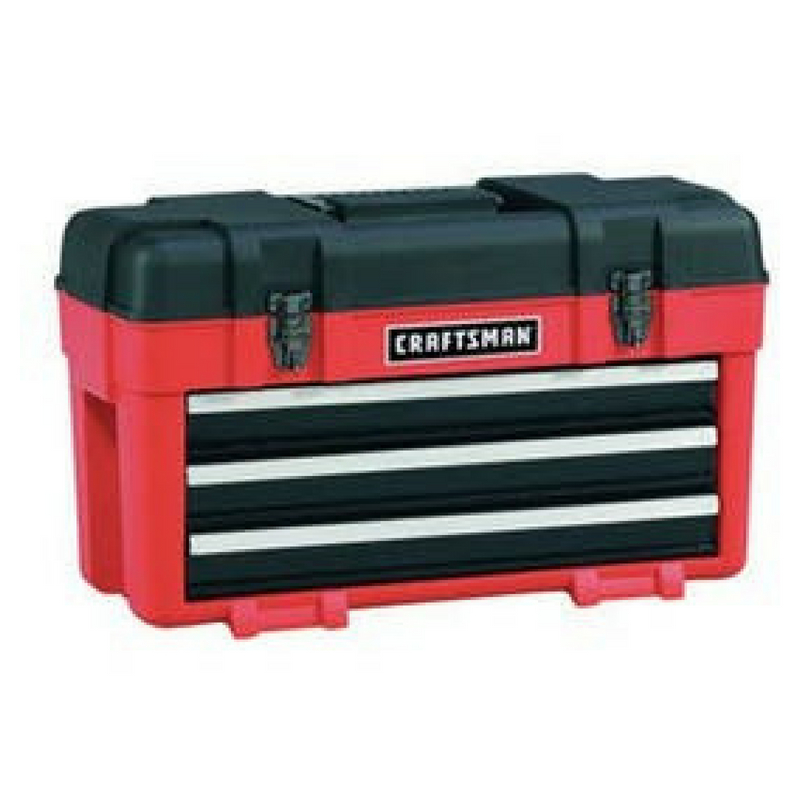
Toolbox
I love this toolbox because it's compact, lightweight, and has lots of compartments to organize all my tools. Be sure not to get one that’s too large as it can be difficult to move around every semester.

Straight Edge Ruler
In addition to being a ruler, this straight edge has a raised edge to protect your fingers when cutting with a blade along the ruler. It also has a non slip grip on the bottom so it won't slide around!

Push Pins
You'll always need push pins, lots of them. These are what you'll use to pin up drawings for presentations as well as inspirational images at your desk. These are much more durable than plastic pins.
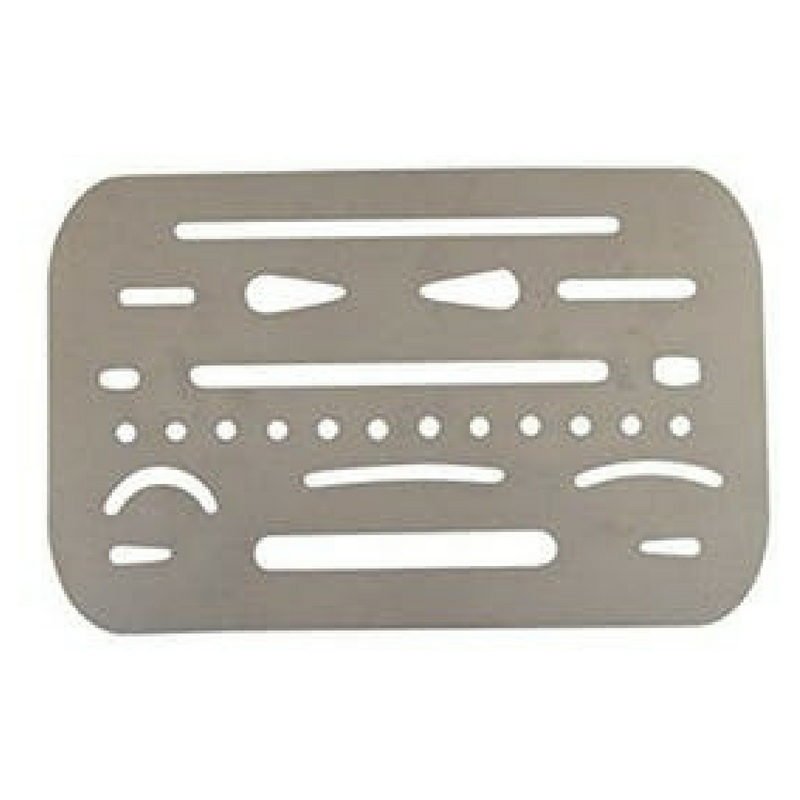
Eraser Shield
An eraser shield is a nifty tool used to protect your drawing around the areas you’re erasing.
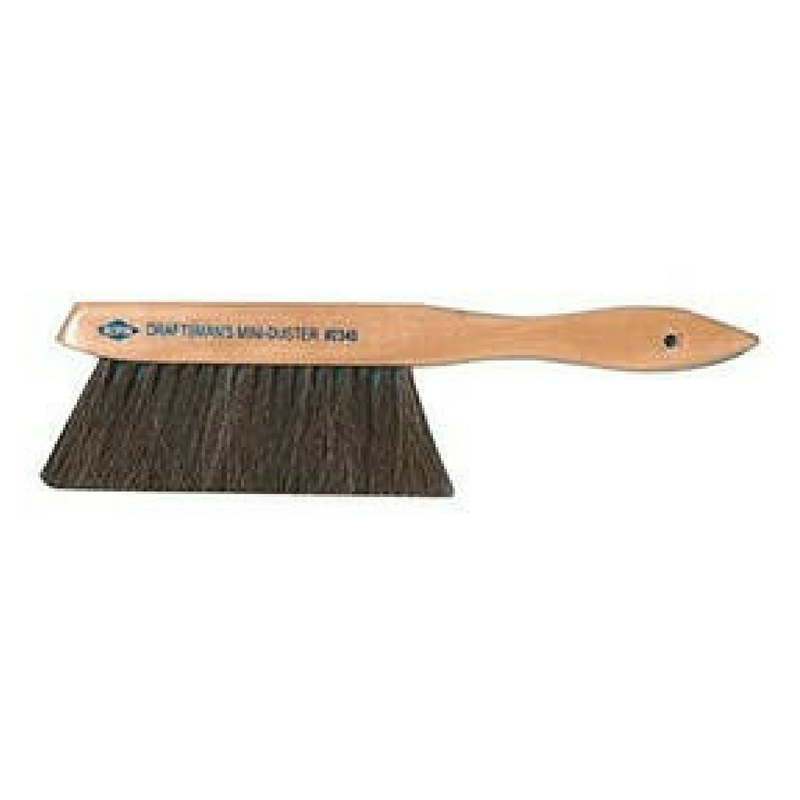
Drafting Brush
A drafting brush is a soft bristled brush that you can use to brush debris off your drawings without smudging them.

Eraser Stick
Eraser sticks are useful when erasing small areas like when lines are close together.

X-Acto Knife
This is a light-duty knife used to cut thinner materials like paper - always be sure to use a sharp blade!

Lead Pointer
A lead pointer is used to sharpen the lead in your lead holder. See here for how to use it!
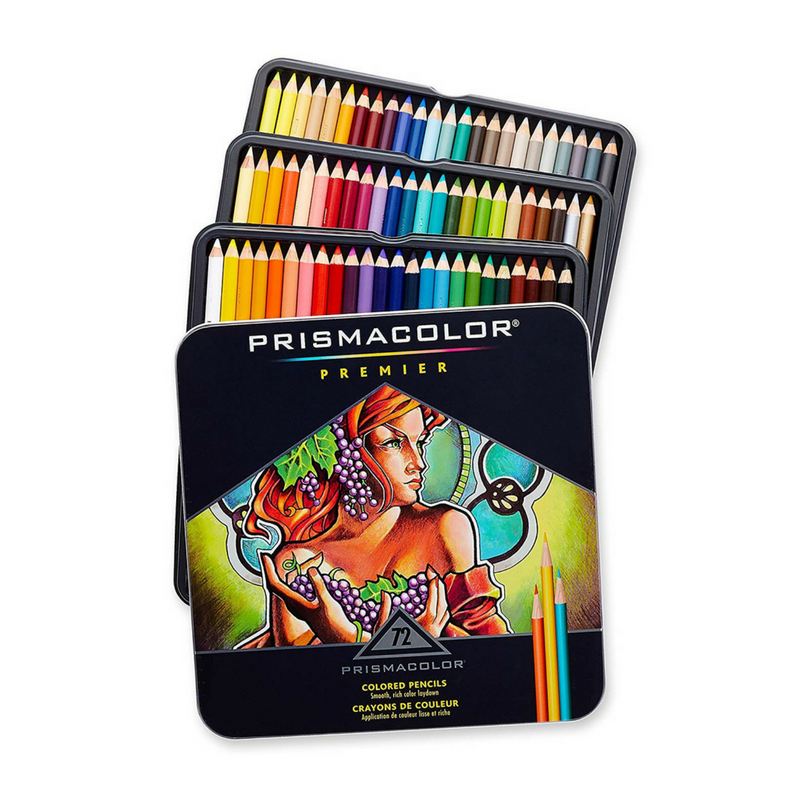
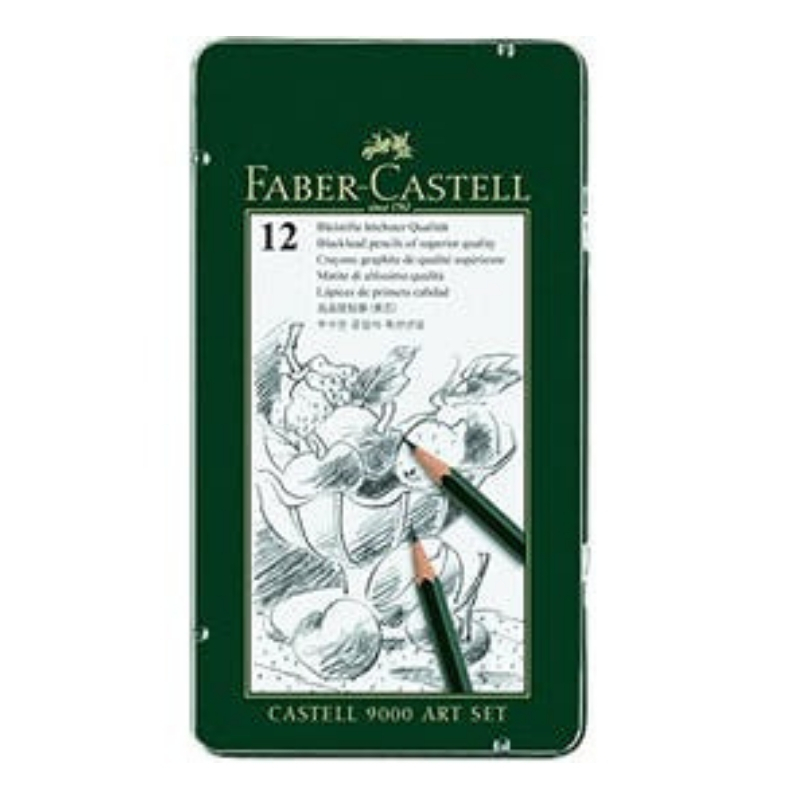
Colored Pencils
I love the quality of these colored pencils! They’re great for hand rendering and diagramming!

Lead Holder
Lead holders are basically just fancier mechanical pencils. I recommend having at least 3 different colored lead holders with different types of lead so you can easily switch between them while drafting.

Colored Markers
Prismacolor markers are my favorite markers to do hand renderings with. These markers are great because they're double sided with a broad side for when you want broad strokes and a point side for when you need to be more accurate.

Cutting Mat
Cutting mats double as both a working surface for assembling models and a safe cutting surface that won't damage your desk or knives. I recommend having a large one and a smaller one for when you have limited space to work.
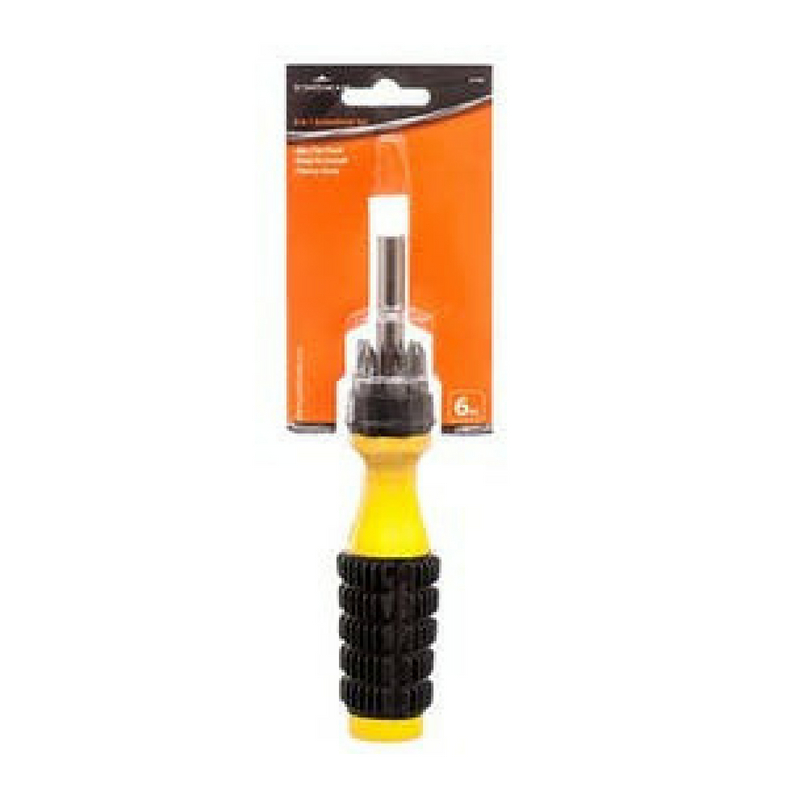
6-in-1 Screwdriver
It's always a good idea to have a screwdriver with different heads for things like assembling your parallel ruler.

Portable Drafting Board
I love this portable drafting board because I can take my work with me and draft from the comfort of my home!

Mini Architectural Scale
I always carry around a mini architectural scale with me, you never know when you might need it!

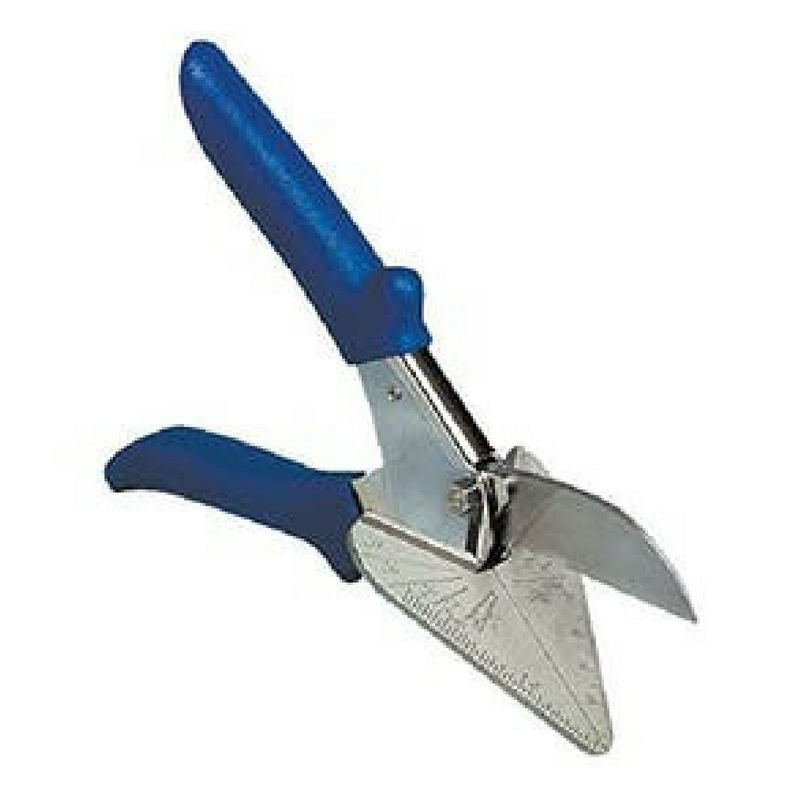
Miter BOx Set
A miter box is perfect for cutting wooden dowels and other small materials for model making. This box has 45 and 90 degree cut guides.

Battery Operated Eraser
It can be really useful to have a powered eraser to do the erasing work for you without the fear of ruining the rest of your drawing with erasing strokes.

Gum Eraser
Gum erasers work well for erasing colored pencils and graphite without leaving smudges. Use your drafting brush to brush away the eraser shavings!

5-in-1 multicolored pen
This pen is absolutely amazing! It's perfect for taking notes and being able to switch between colors quickly and easily! It writes smoothly and has a pencil too!

Plastic Eraser
Plastic erasers are used for general purposes. These are my favorite erasers because they'll erase just about everything and don't smudge.

Mechanical Pencil
This is the only pencil I use now. It writes so smooth and the eraser is really soft, effective, and doesn't smudge! I prefer to use a .7mm lead.

Kneaded Eraser
I like to use kneaded erasers to control lineweights and when working with charcoal. See here for how to use and clean them!

Sketch Pen
I love using these pens for sketching. They flow really nicely, dry quickly and work really nicely on trace paper.
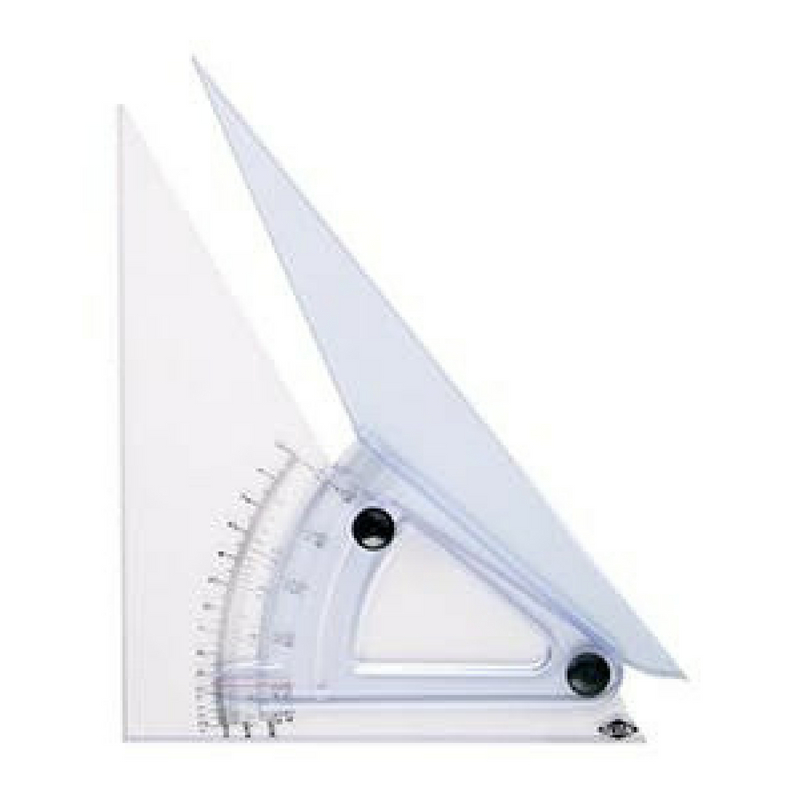
Adjustable Triangle
An adjustable triangle is great because it can be adjusted to any angle. Use this against your parallel ruler to ensure your lines are straight.

Fine Point Pen
These are my favorite pens because they dry quickly and don't require any pressure to write. I use these for sketching and drafting.

Fixed Triangles
In addition to an adjustable triangle, I'd suggest having fixed triangles too so you can quickly switch between them and work more quickly.
Sketching Pencils
Especially when first starting out, it's useful to get a set of pencils with varying hardnesses for drafting by hand. Helpful tip: HB = #2 = .7mm = medium hardness.
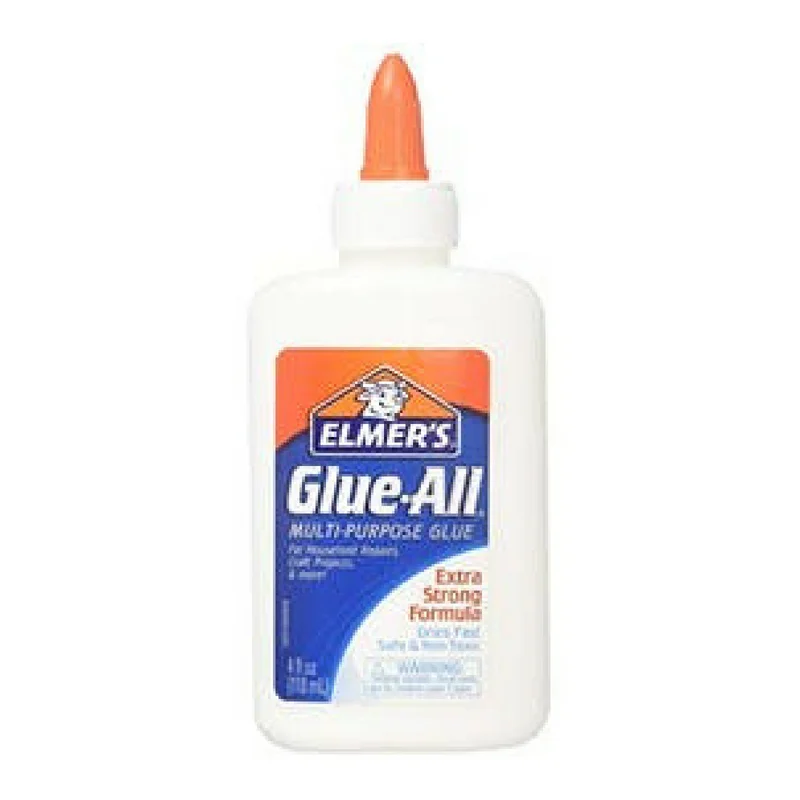
Modeling Glue
All purpose glue is a great basic glue for building models. I love this glue because it dries clear, is widely available, and is much cheaper than some other craft glues and is just as effective.

Drafting Dots
Drafting dots are round shaped pieces of light adhesive tape that wont tear your drawings. They're convenient to use and more gentle on your drawings than masking tape.

Drafting Tape
Drafting tape is a less convenient alternative to using drafting dots. It's a light adhesive tape that wont tear your drawings. I like it because it’s cheaper than dots and less wasteful.
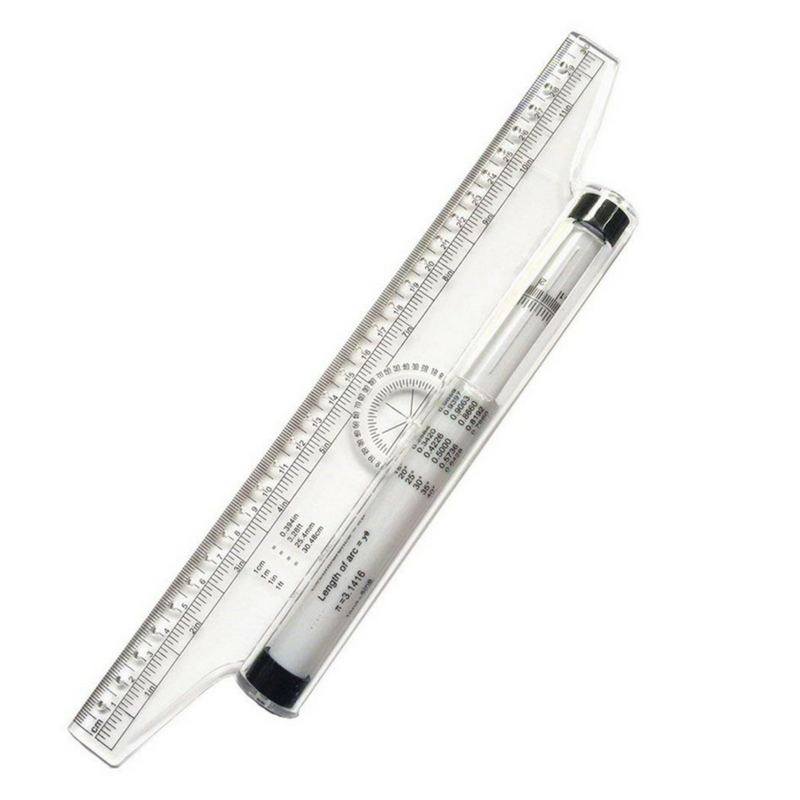
Parallel Rolling Ruler
Turn any surface into a drafting desk with this parallel rolling ruler. It’s a ruler, parallel ruler, protractor all in one useful tool! It’s perfect for hatching and drawing parallel lines.

Noise Cancelling Headphones
Design studios can be really loud spaces. Sometimes the chaos can be brilliant for creativity, other times you need peace and quiet which you’ll get with these noise cancelling headphones!

Measuring Tools
When measuring spaces for site visits and school projects, there are a few nifty tools that can make your job a lot simpler!

Measuring Tape
One of the most basic tools for measuring is a measuring tape! The measuring tape has evolved though to include magnetic ends and stiffer tapes to make your experience faster. It’s perfect for measuring smaller distances like window, door, and trim dimensions.

Laser Measure
The perfect compliment to the measuring tape is a laser measuring tool. It can make solo measuring trips a piece of cake and is a must have tool for measuring long distances like overall room or building dimensions and ceiling heights.

Flashlight
A bright, wide angled, compact, tactical flashlight is an important tool for peeking into attics, basements, and other dark spaces. Alternatively, you may want to try a headlamp to keep your hands free or a crank flashlight if you don’t want to worry about running out of batteries.
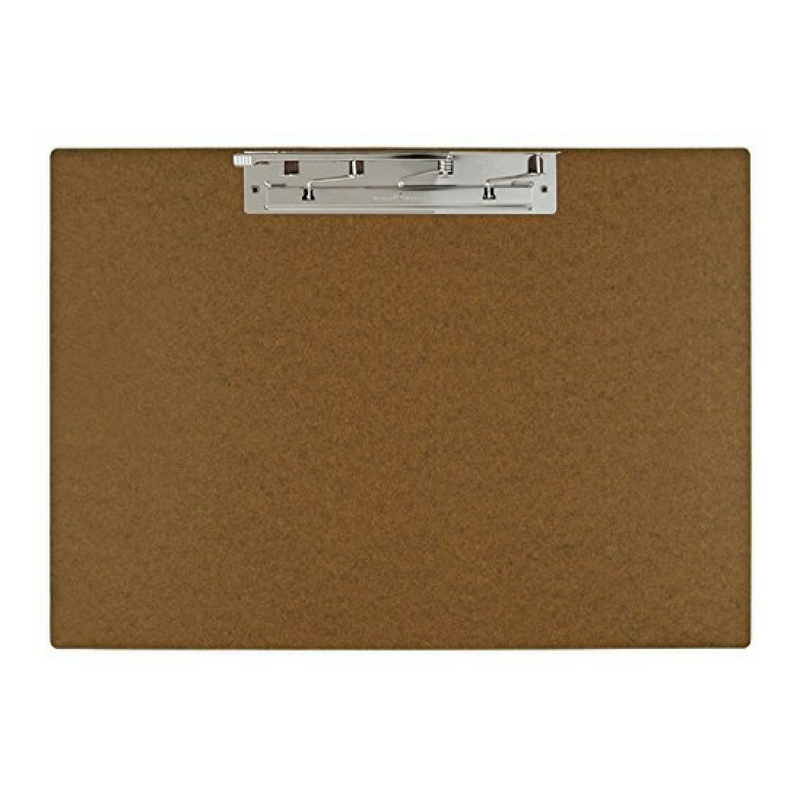
Clipboard
A large clipboard is a must when you’re on site visits. If a clipboard is too heavy for long visits, consider cutting a piece of foam core to fit your needs in terms of size and custom handles and use metal clips to hold drawings down.

Camera
Whether you use a phone, DLSR, point and shoot, or all three, pictures and videos will be one of your greatest assets during a site visit. Take advantage of videos and panoramas as they help you understand the space better.

Backup Batteries
One of the worst things that can happen when on a site visit is your camera running out of battery. Always be sure to carry spare batteries or a portable charger with you as well as an extra memory card!
Presentation Tools
After you’ve slaved away making your model perfect, you’ll want to have photographs and documentation that reflects the quality of your work. Here are a few tools to help you step up your presentation game!
P.S. Don’t forget about school/local resources where you may be able to borrow some of these tools!

Camera
Using the right camera and lens for the job is essential to producing high quality photos of your work.

Backup Batteries
It’s always a good idea to have backup batteries while shooting as well as backup memory cards!

MEMORY CARD READER
If your camera doesn’t have a wireless transfer feature, you can use this memory card reader to quickly upload your photos and videos to your computer.

Tripod
Don’t let your photos be ruined by a shaky shot! Use this multi-leveling tripod to give you ultimate control over your photos and videos.

Studio Lighting
Lighting is a crucial element in photography. If you can’t take advantage of natural light, I recommend using a studio lighting setup like this one.

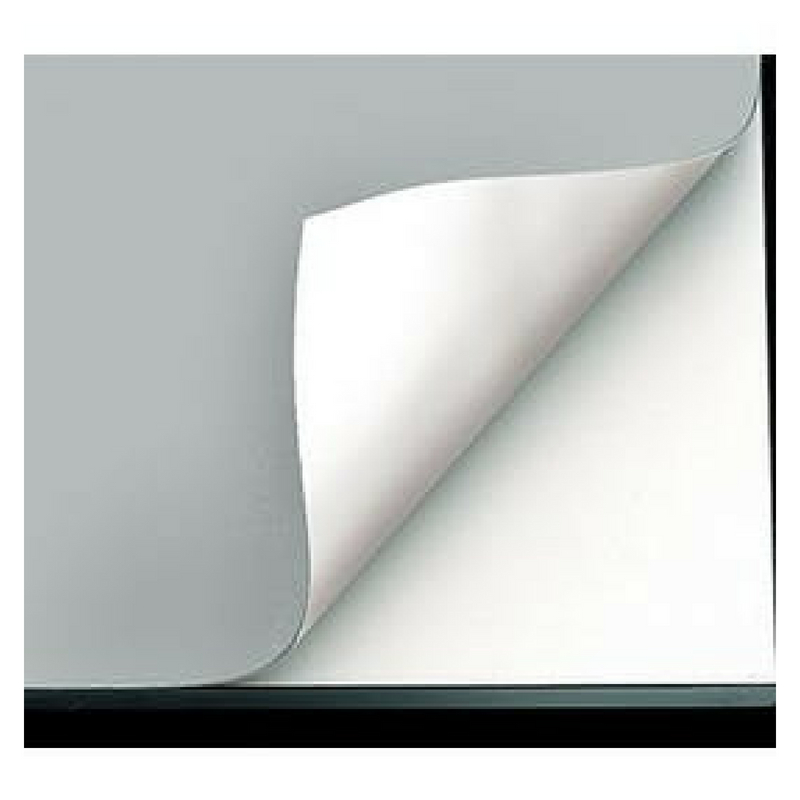
Backdrop
The backdrop should add to your composition, not detract from it. When you can’t shoot in a natural setting, I recommend using a simple black or white backdrop.


