All Categories > Tracking Income + Expenses > How to Customize Dropdown Menu Options in the Finance Planner for Creatives
Customize Your Dropdown Menu Options in the Finance Planner for Creatives
To make this Finance Planner for Creatives work for you, you can easily tailor the dropdown options for things like expense categories, income sources, payment methods, and more.
Where to Edit dropdowns:
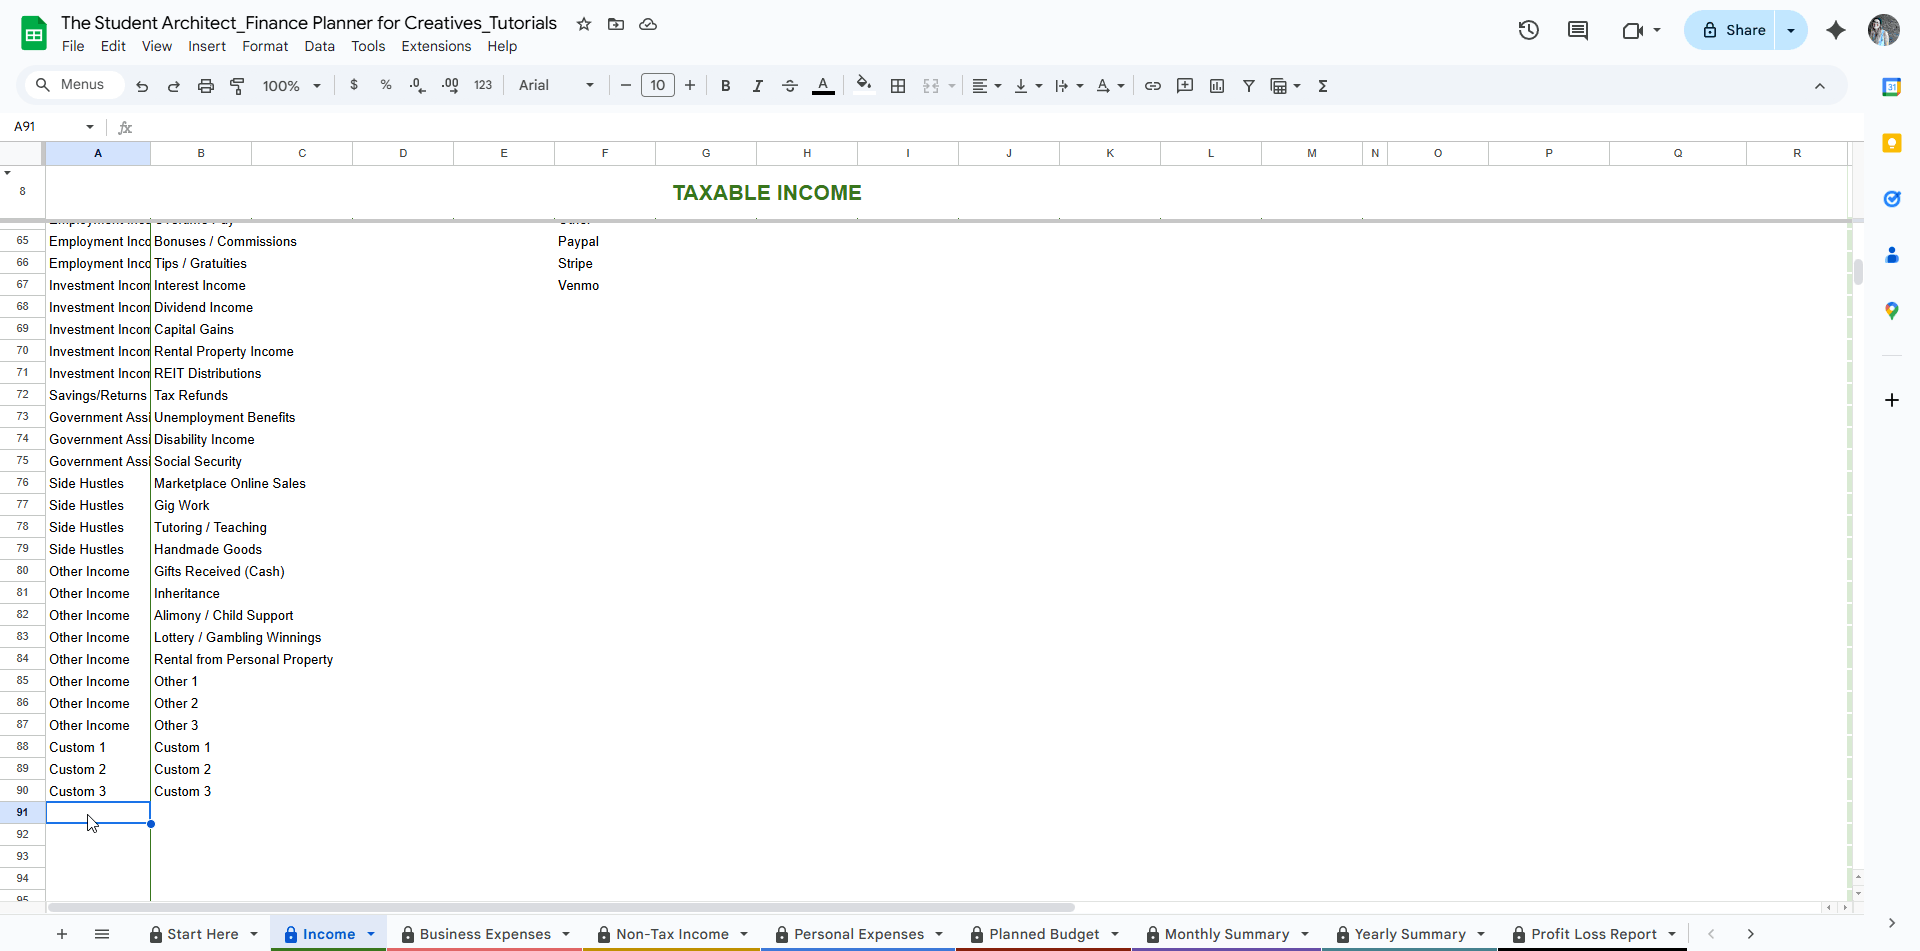
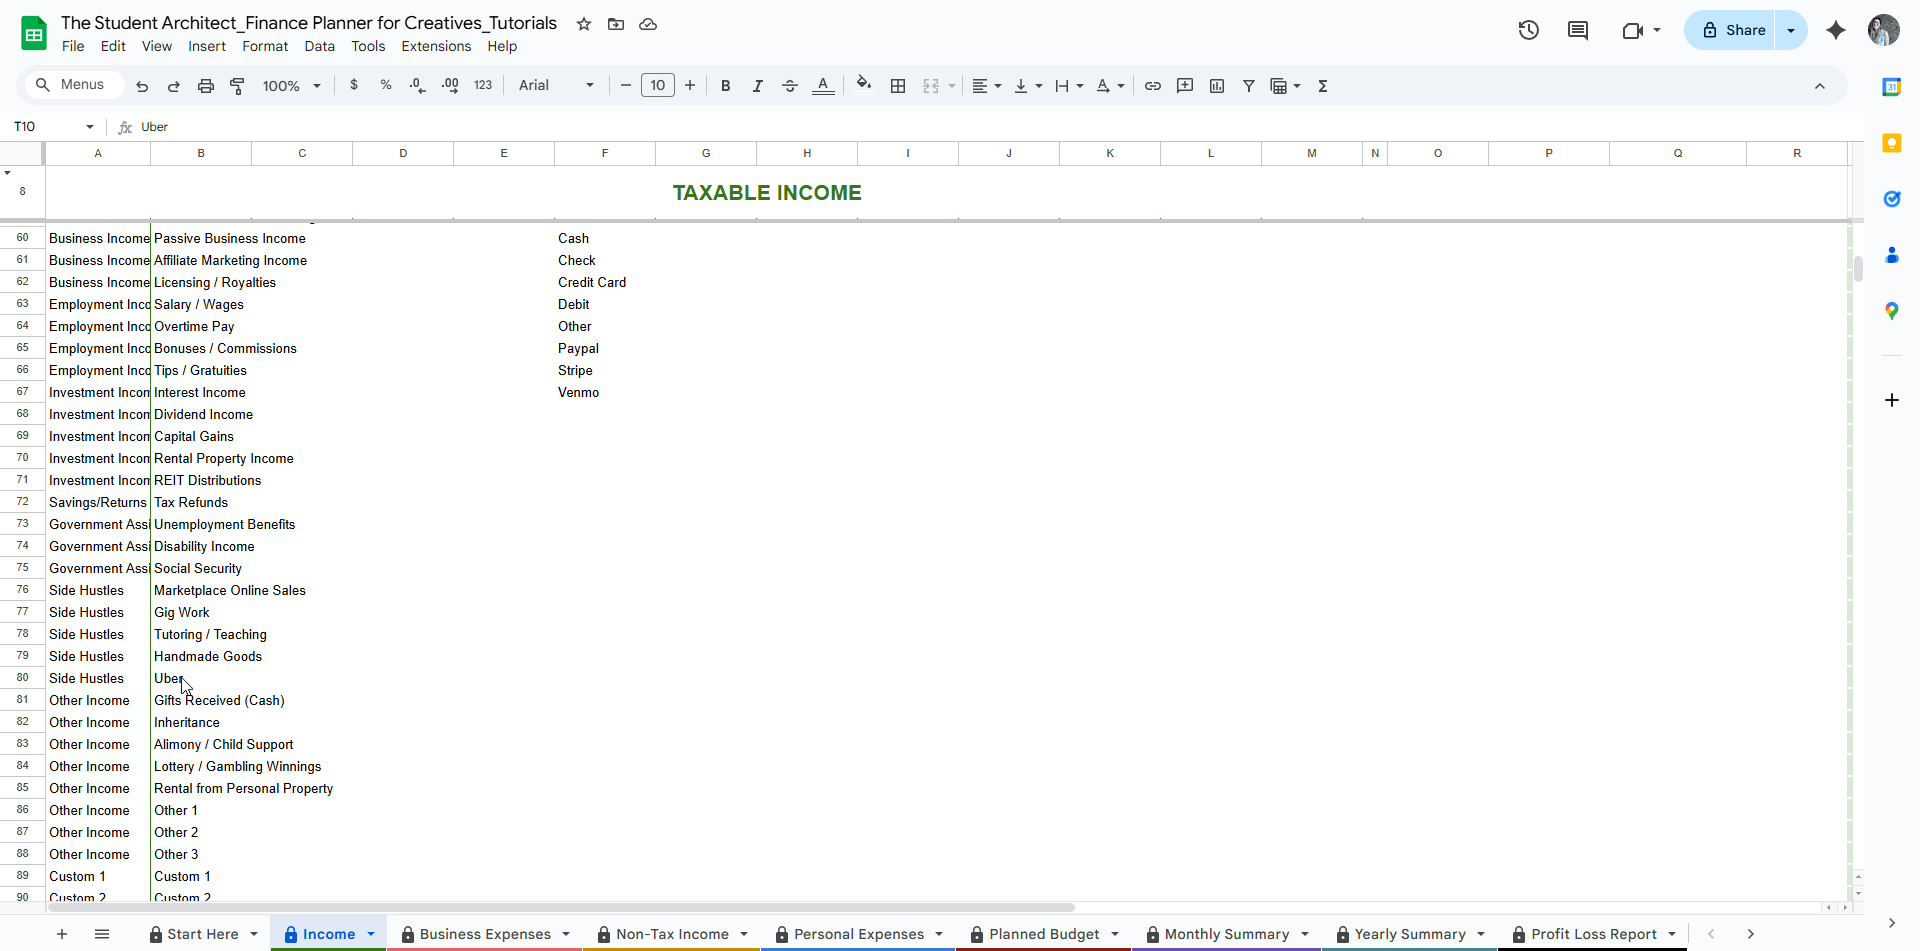
On all of the Income and Expense sheets, scroll to cell A50 to find the editable dropdown lists for:
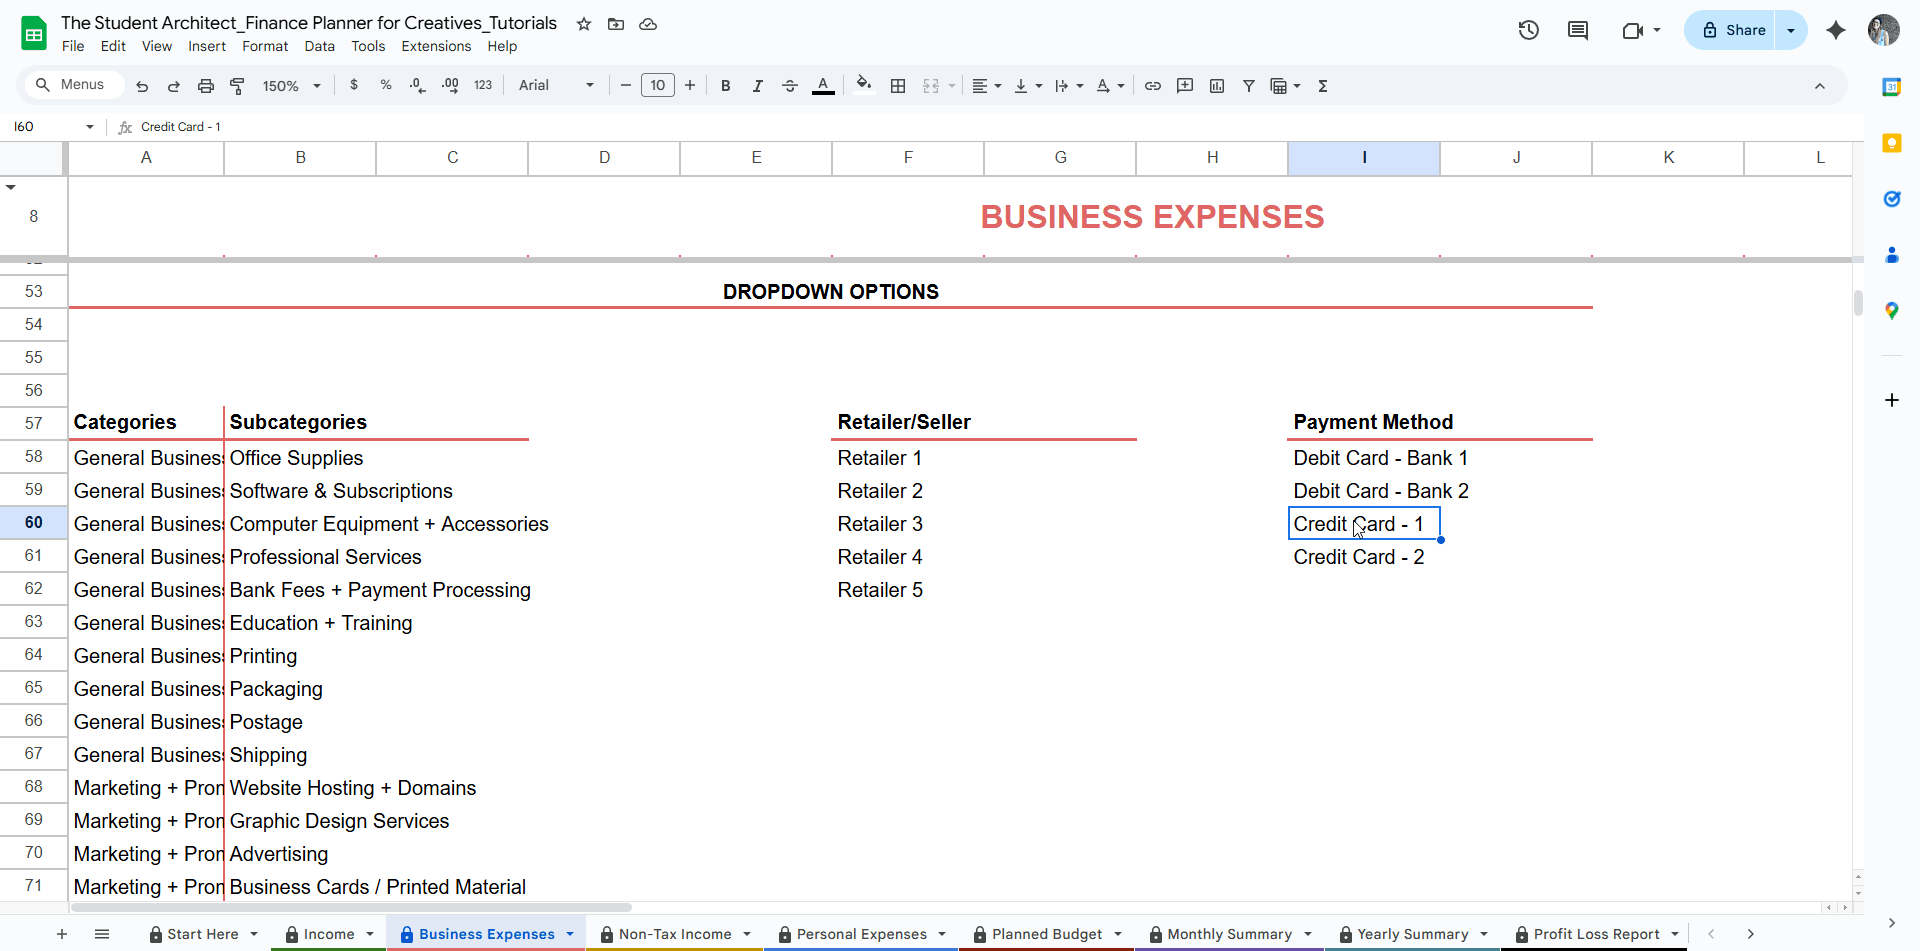
Categories
Subcategories
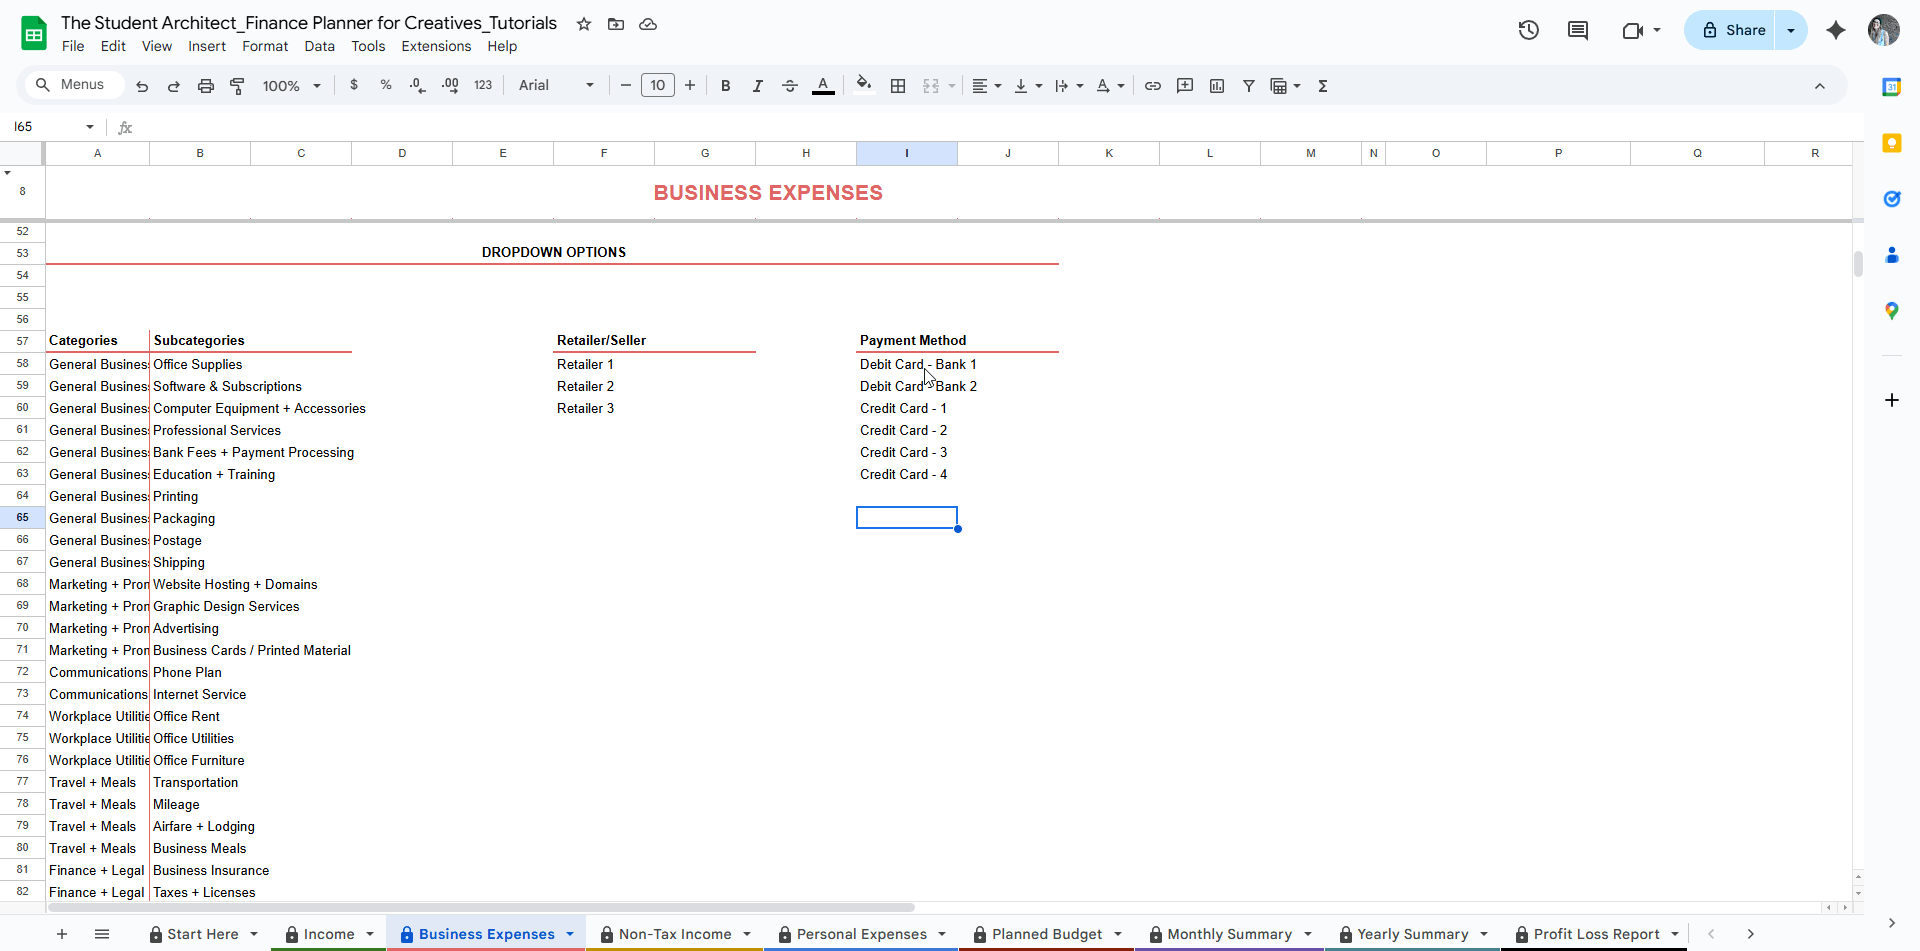
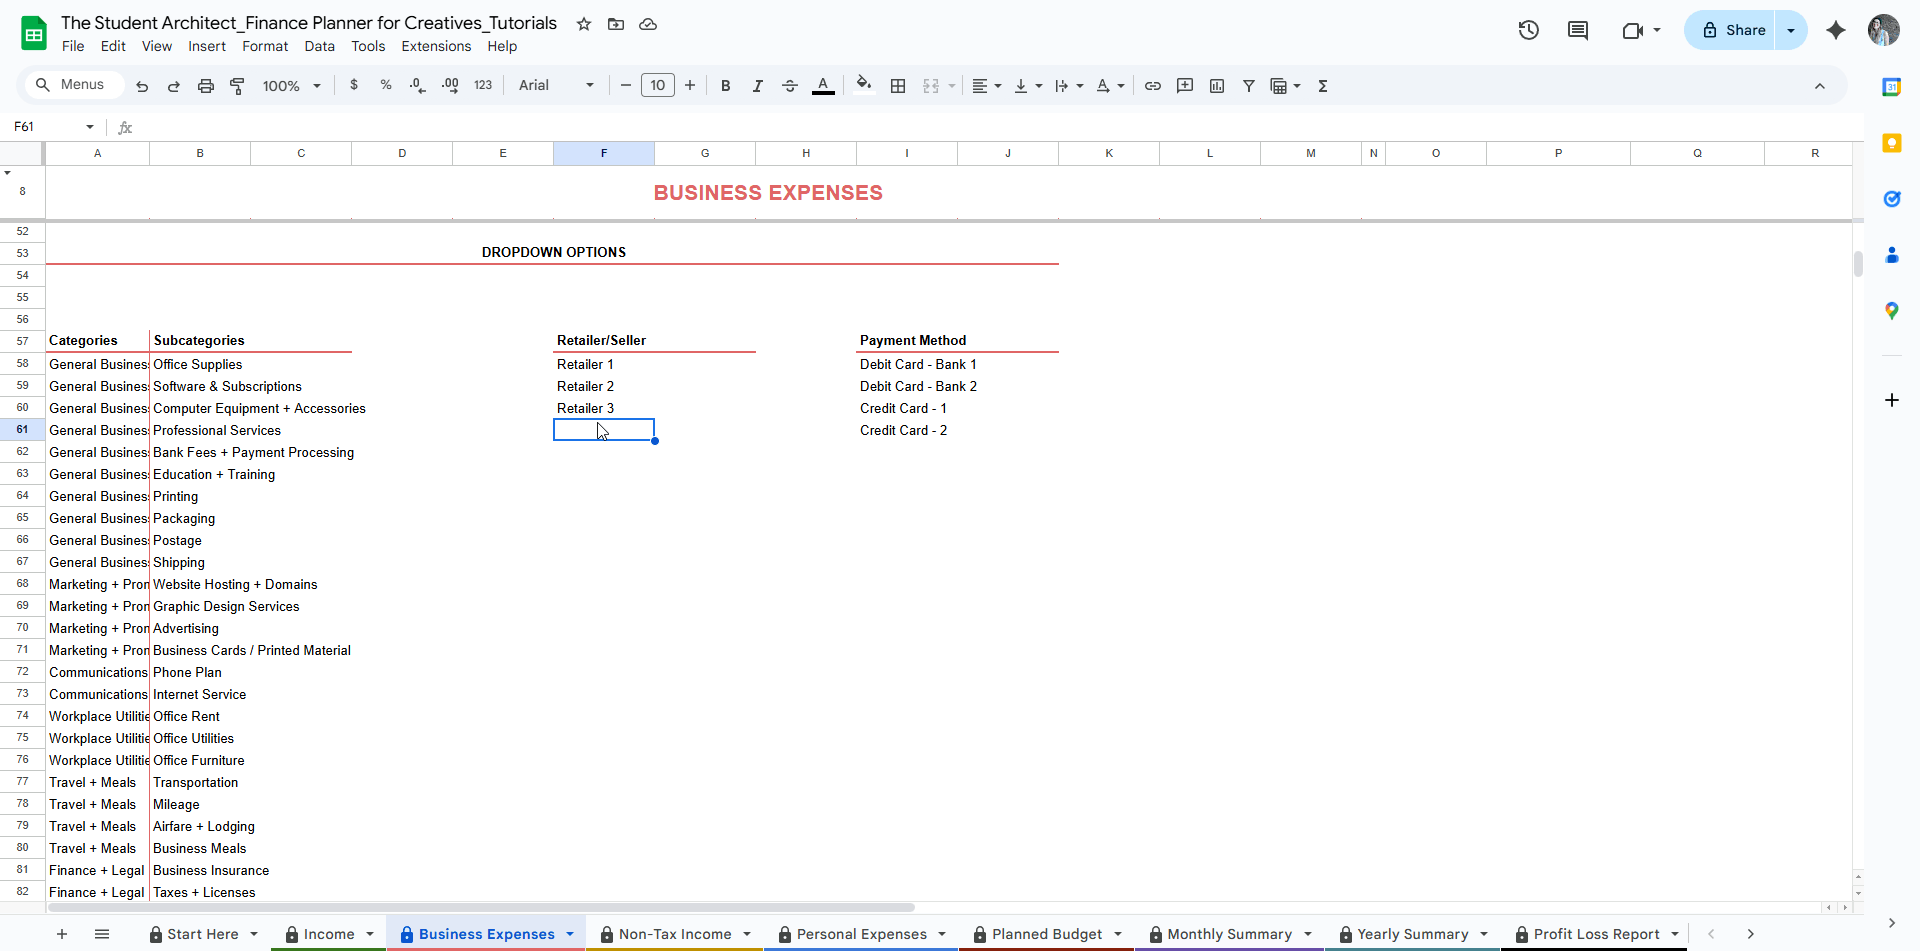
Retailers
Payment Methods
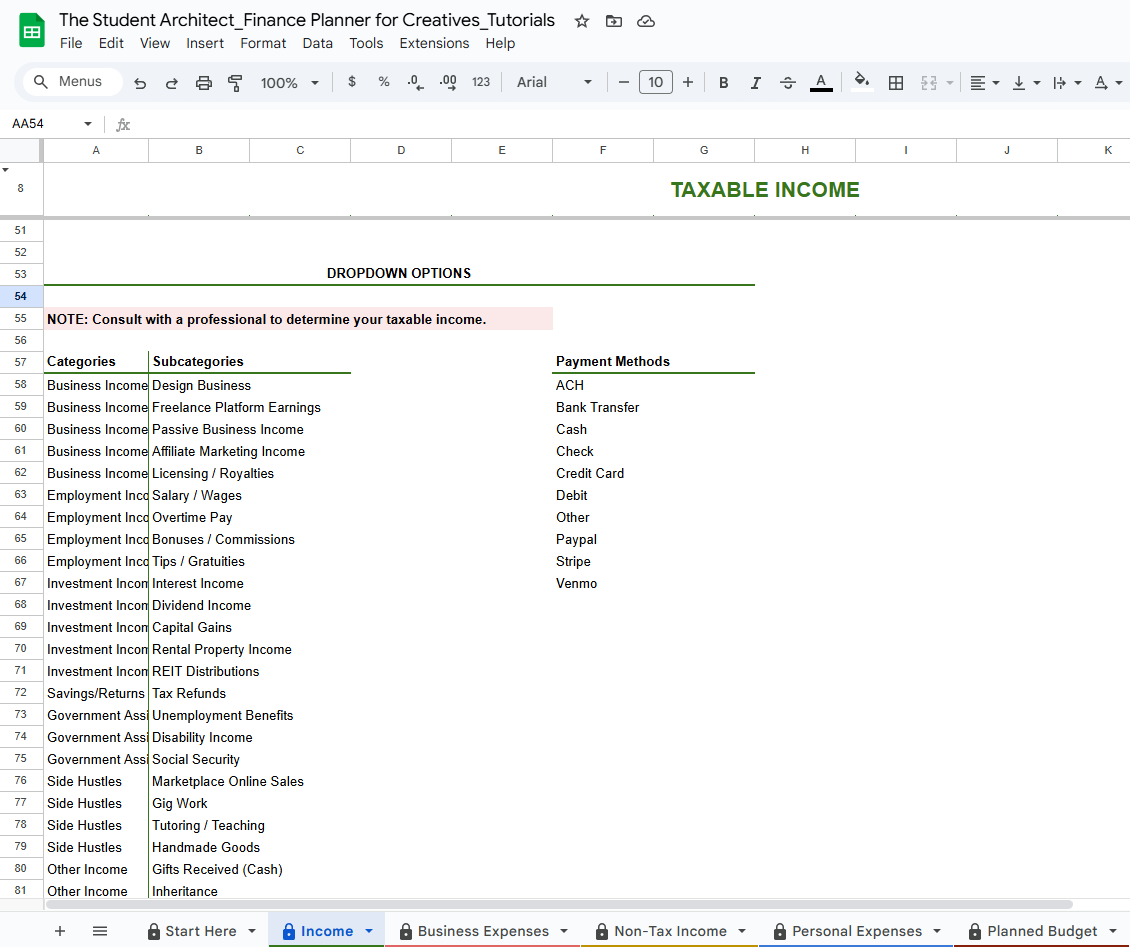
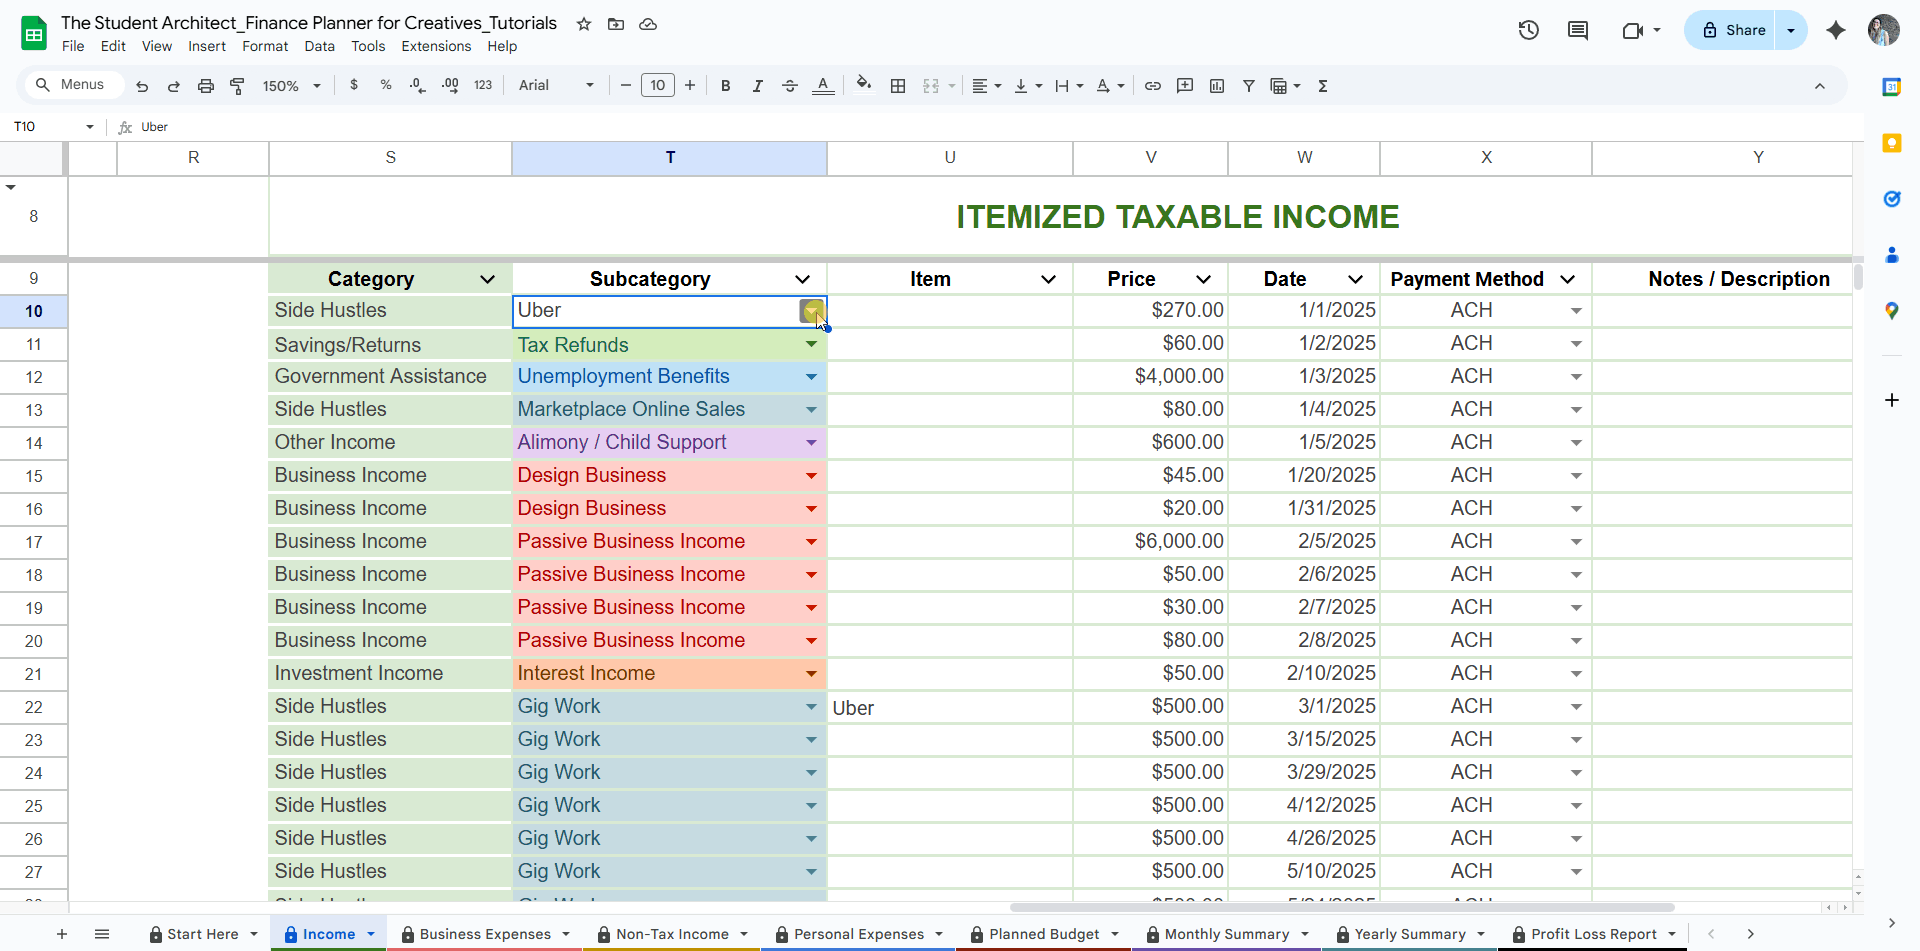
Customizable Income Dropdown Options
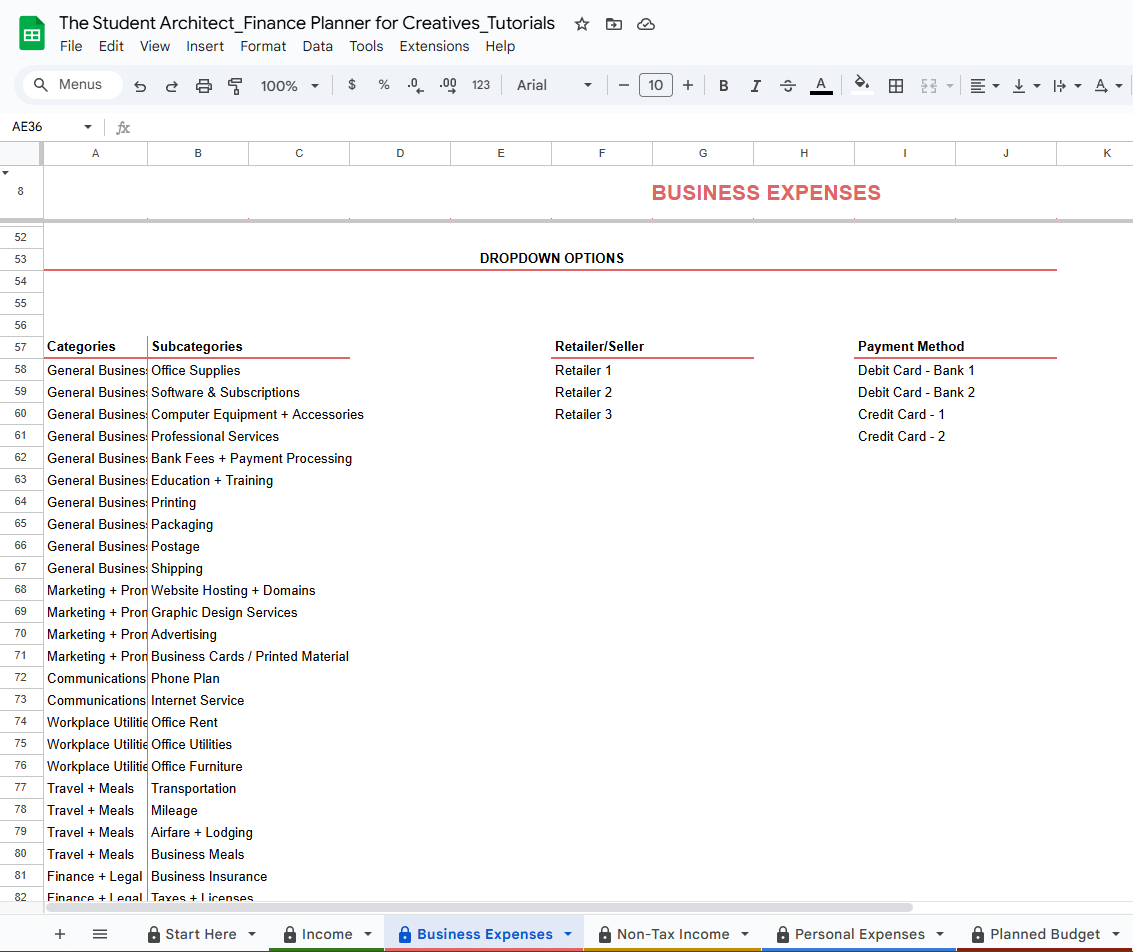
Customizable Expense Dropdown Options
Changes will need to be made on each sheet (feel free to copy and paste from sheet to sheet where it makes sense, such as payment methods).
Easily copy and paste options from one sheet to another
➕ To Add New Options:
Go to cell A50 and below on one of the Income or Expense sheets
Type your new option under the appropriate list
It will automatically appear in the dropdown menus for new entries on that sheet
Optional: Assign a color to your dropdown options.
Existing subcategory colors are grouped by category for visual clarity.
For new Subcategories, be sure to enter a matching Category so the formulas work correctly.
Add a new dropdown option
Add a new dropdown with category and subcategory
New dropdown option shows in the log as an available option and category is automatically applied
📚 Keeping Subcategories Grouped (Without Breaking Formatting)
When adding a new Subcategory under an existing Category, it’s best to insert it in line with the rest of that group to keep the dropdowns and reports organized. Doing this manually without disrupting formatting and protecting existing options can be tricky — but here’s a quick trick to make it seamless.
To properly add and group a new subcategory to an existing category:
Find the last row in the Category list that belongs to the subcategory you’re adding
Select both cells in that row (Category + Subcategory) and drag to downward through the rest of the Category/Subcategory list (so you copy the rest of the options)
Press Ctrl+C (or Command+C) to copy
Click the left cell in the second highlighted row — this is where your new subcategory will go
Press Ctrl+V (or Command+V) to paste — this overwrites the rows below, creating a duplicate of the entry above where you can add your new subcategory without having to retype the category (this helps with avoiding spelling mistakes and duplicate categories)
Edit the Subcategory name in the new duplicate row — the Category name should remain the same
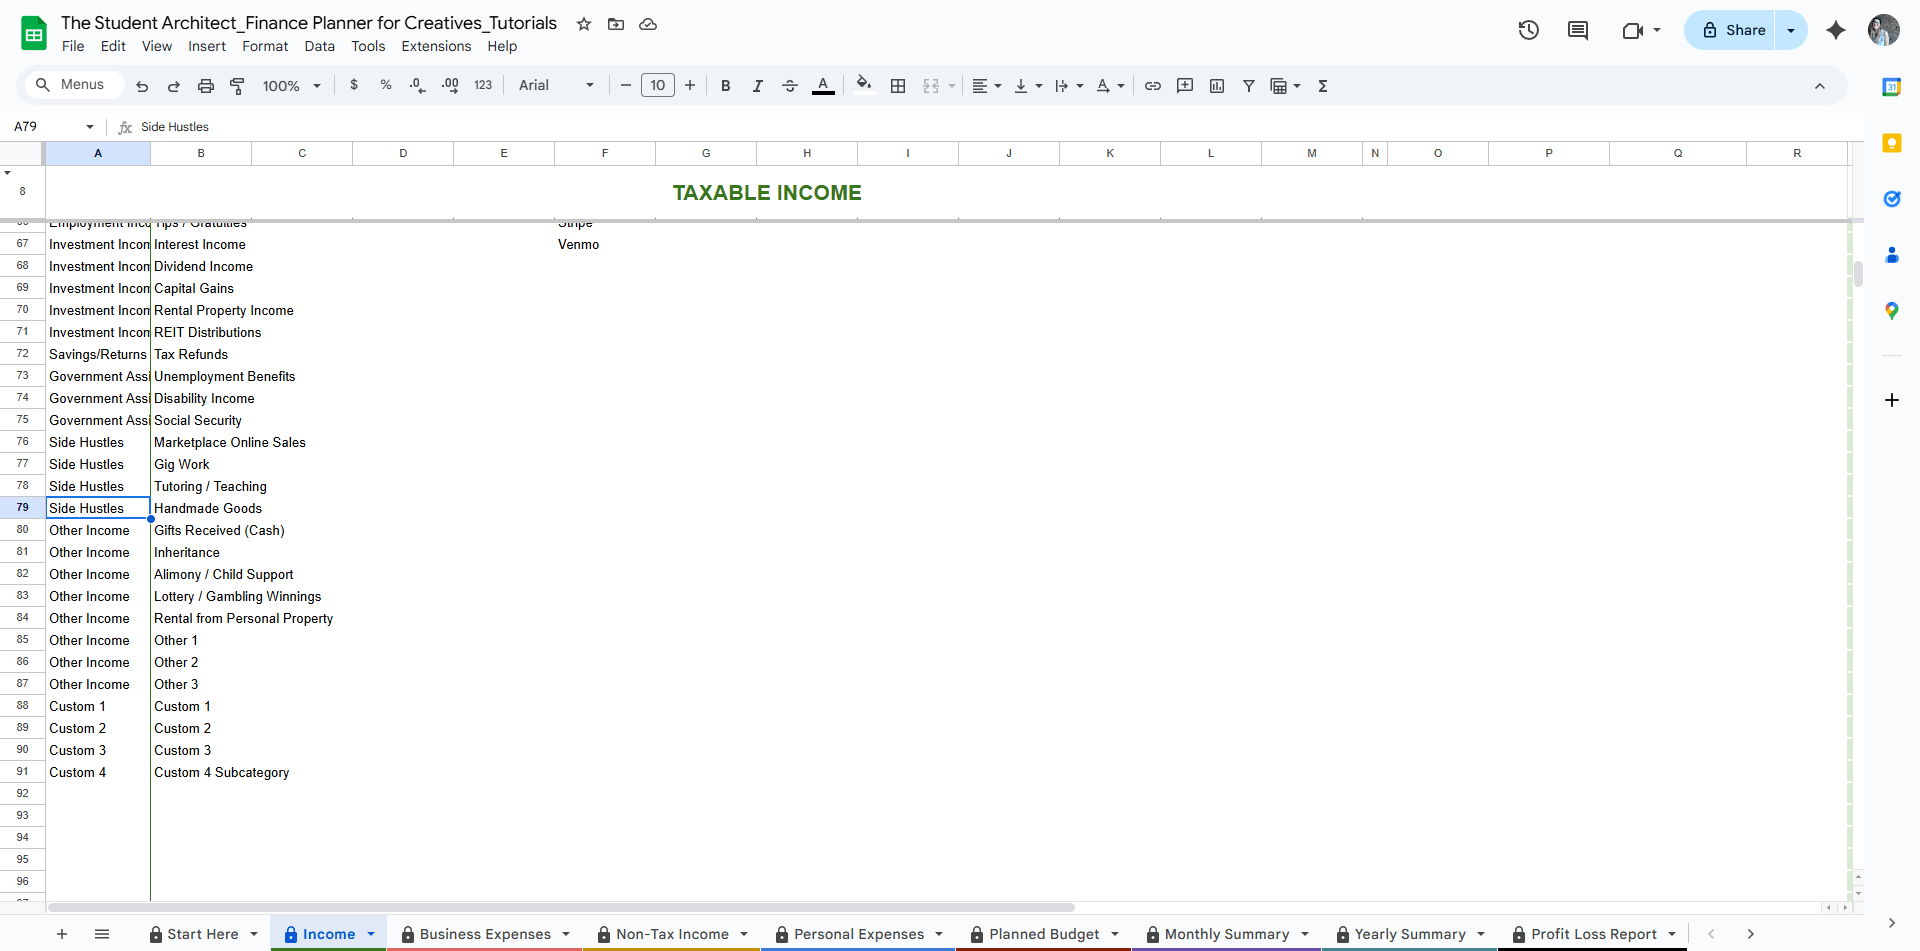
How to easily keep new subcategories under an existing category grouped together
This ensures your new subcategory stays visually and functionally grouped with the rest of its category — and keeps your reports and dropdowns intact.
Note: For dropdowns with single columns (e.g., Payment Methods or Retailers dropdowns), you can press CTRL+X (or Command+X) to cut and CTRL+V (or Command+V) to paste instead to create a blank row if needed.
How to group similar options under single column dropdowns
🎨 How to Add Colors to Dropdown Options
Adding colors to your dropdown options makes it easier to scan and understand your data at a glance—especially in long tables! Here's how to set it up:
How to add colors to dropdown options
To add or change a dropdown color:
Click on a cell that contains the dropdown you want to customize
Click the small down arrow on the right side of the cell
In the menu that appears, select “Dropdown” → “Edit dropdown” (or choose “Dropdown” from the top menu if it’s not already enabled)
You’ll see the list of dropdown options — next to each option is a small color dot
Click the color dot to change the color
Choose from the palette or click the + to create a custom color
Click “Done” to apply your changes
All cells using that dropdown will automatically update with the new colors. ✨
Note: In your planner, Subcategory colors are grouped by Category, so you may want to use consistent colors for all subcategories under a single category for visual clarity.
➕ Adding New Options
When you modify existing options or add new options to the dropdown list (in the editable Dropdown Options section):
The option will appear with no color by default
To add color: use the steps above by selecting a cell that includes the new dropdown and assigning it a color
➖ To Remove an Option:
Simply delete the name from the dropdown list
Any past entries that used the removed option will be flagged with an error
Update those entries by selecting a new option from the dropdown - see more on this below
Optional: To remove blank rows, you can fill the empty space by copying the filled rows below the blank row(s) and pasting them directly into the blank spot (using the method described above). Then, delete any duplicated rows that remain at the bottom to clean up your list.
⚠️ Important Notes:
Editing an existing name won’t update past entries in your itemized list — it will just create a new option
If you overwrite a name that’s already in use, existing entries will show a flag or error, and you’ll need to manually update them - follow the steps on this page
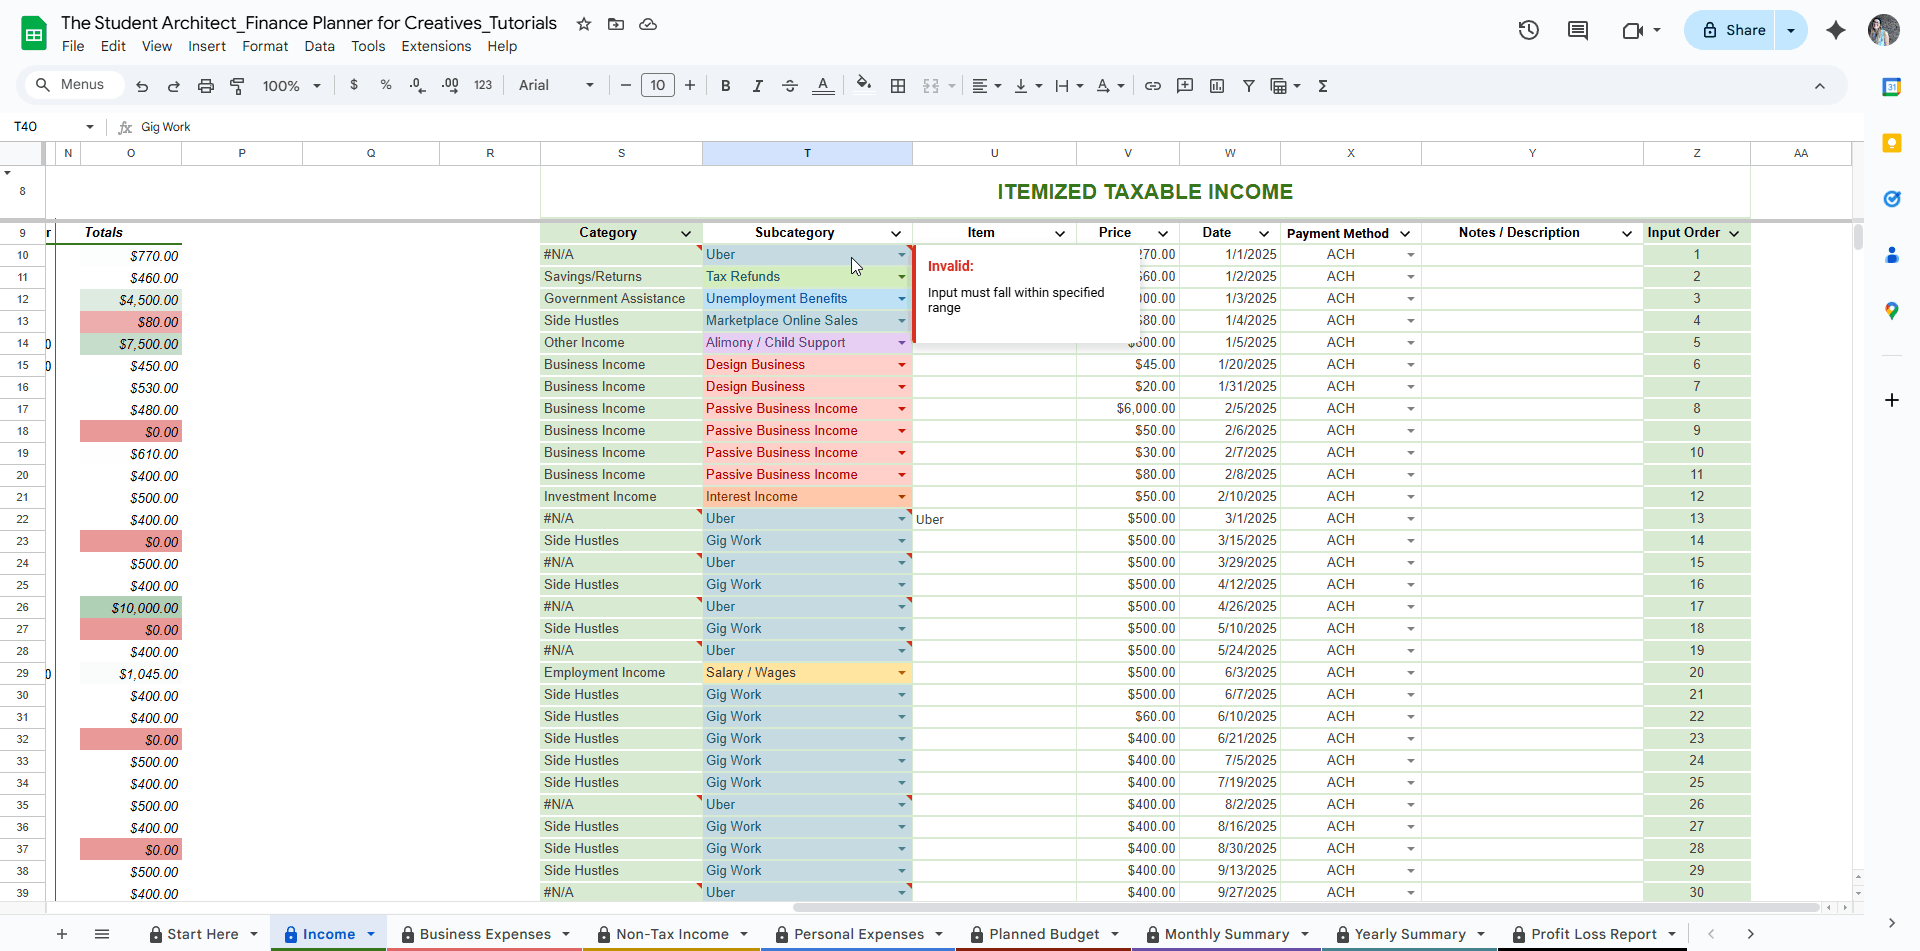
🔁 How to Update Multiple Dropdown Selections in the Log (All at Once)
If you’ve deleted or renamed a dropdown option (like a subcategory) and the old entries are now showing a flag or error:
Go to the relevant sheet (e.g. Income, Expense, etc.).
Click the down arrow in the column header (e.g. Subcategory).
Select Filter Column and filter the column to show only the outdated or incorrect name.
Update the topmost cell with the new, correct dropdown name.
Select the updated cell and find the drag handle (dot) in the lower-right corner of that cell.
Click and drag the updated cell down the column to replace all outdated entries you want to change.
How to easily update an invalid dropdown option on the log
How to easily update multiple invalid dropdown options on the log
✨ This method lets you quickly fix all flagged or outdated dropdown entries in just a few steps — no manual editing required!


