If you’re sitting there wondering if you’re cut out to be an architect because you’re not an artist, then this post is for you.
10 of My Favorite Work From Home Tools
How to Avoid All-Nighters
I’ve written and spoken about how to survive all-nighters, but it’s best if we can avoid them in the first place, right?
All-nighters are very unhealthy for you, especially if you find yourself doing them all the time. Working for hours on end, especially overnight, can cause you to make mistakes in your work, can make you sick, and can be seriously dangerous if you’re working on models with knives and machinery without sleep. Here are my tips on how to avoid all-nighters.
Tips for Existing Conditions Surveys
Must Have Tools for Existing Conditions Surveys
What's a Drafting Brush?
by Chelsea Weibust
Updated 12/05/2018

Who doesn't need a tool to wipe the crumbs off their desk?
When I first started hand drafting I always used my hand to wipe away eraser bits and pencil shavings. I would get so frustrated when the heat from my hand would attract the graphite on the page and spread it all across my drawings! I thought, there has to be a better way!
Soon I came across this tool called a drafting brush. It would glide gently across my drawings, cleaning away all the eraser bits, excess graphite, and heck, even the crumbs scattered across my drawings from eating at my desk! A drafting brush is such a simple tool but an essential one to keep your drawings clean and crisp.

The drafting brush I use: Westcott/C-Thru*
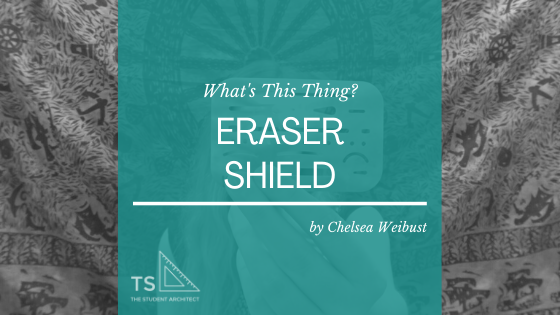
What's an Eraser Shield
by Chelsea Weibust
Updated 12/05/18
Have you ever tried to erase a part of your drawing and end up erasing too much or smudging it with your hand?
I've had that happen so many times!
Then I discovered the eraser shield which changed my life. It's literally a stainless steel shield with voided forms that guide your eraser as you erase. It's amazing! Watch below to see how it works.

Eraser shield I use: Westcott/C-Thru
What's an Eraser Pen

Who knew you didn't have to take an Xacto to your erasers to erase with precision!?
Having the right tool for the job is key for productivity. Improvising can work well at times but I've found that improvising can take up valuable time and can lead to unsatisfactory results.
When I was in my earlier years in school I used to use an Xacto or Olfa knife to sharpen my erasers when there was a small area that needed to be fixed or erased. Once I found the eraser pen though, it saved me tons of time and I could see a noticeable difference in the quality of my erasing which is important on final drawings! Watch below to see the eraser pen in action.
Eraser pen I use: Staedtler*
What's a Kneaded Eraser

Who knew there were so many different types of erasers!?
It's vital to know the purpose of different tools and how to use them in different way so you can be more productive. Using the right tool can be the difference between having a great project and potentially having to start a rendering over.
Watch to see what a kneaded eraser is and how to use it.
Kneaded eraser I use: Prismacolor*
What's a Lead Pointer

If you haven't seen last weeks post/video about lead holders, go check that out first!
This week we're talking all about lead pointers - what they are and how to use them. Check out the video to see more!
Here is the lead pointer I use: Alvin Rotary*
What Are My Custom Computer Specifications?

A few years ago I had a friend build a custom computer for me, built to suit my needs. I was so frustrated with the performance and lifespan of the prebuilt computers I’d had before of all prices, brands, mac, pc, you name it. The prebuilt computers just couldn’t perform the way I needed them to so I decided to go the route of custom built computers. Since announcing this transition to the interwebs, I’ve been asked so many times what specification I have for my computer, so here they are!
The Best Computer for Architecture
The Best Computer for Architecture
Updated 01/01/2019
What is the best computer for architecture students?
I have been getting A TON of questions about this! Typically, I advise people to review school requirements and do a little bit of research - I still stand by that philosophy for the most part. While I do think it's important to understand what your school requires you to have in terms of computer specifications, here I suggest a different path. Watch to find out!

Also see my computer specifications here to build your own custom computer!
Architecture Studio Supplies

I bet you're wondering what supplies you'll need for your architecture studio. Schools don't always tell you exactly what supplies you need (often until the day you need them) and you'll find yourself scrambling at the last minute to finish your assignments. Watch the video below to see the essential supplies you'll need get by and thrive in studio!
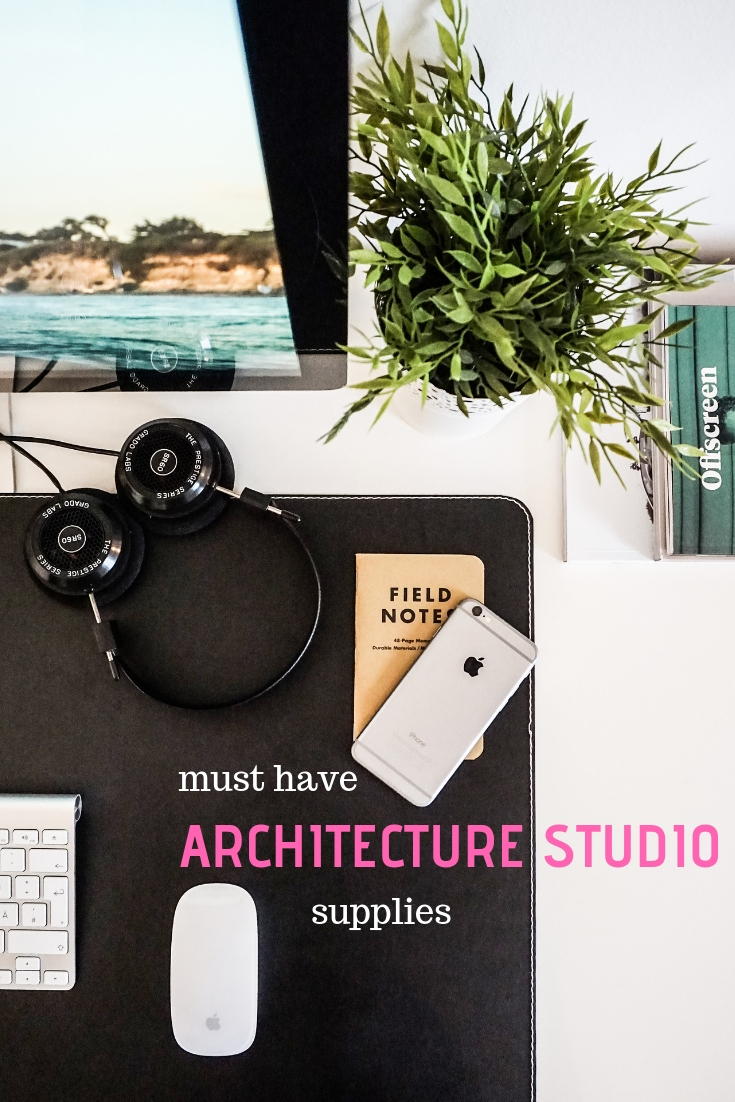
These are some of the supplies I use:

I like to use a smaller sketchbook that I can carry around with me. Usually I'll use a 5x8 sketchbook with gridded pages.

For architectural scales, I prefer to have a metal scale over plastic since they won't damage as easily. I also suggest getting both a full size scale and a smaller travel size scale that you can carry around with you.

A parallel ruler is a straight edge that slides vertically on your drafting table to help you draw straight lines while drafting.

You'll want a couple of different sizes of rolls of trace for when your drafting and sketching.

An Olfa knife is a more heavy duty knife used to cut thicker materials like chipboard and plexy while making models.

Replacement Olfa Knife Blades*
One of the most dangerous things people do when making models is use dull blades while cutting materials. Also make sure to have lots of replacement blades while building models.

An X-acto knife is a light duty knife used to cut thinner materials like paper but like with olfa knives, make sure to always use a sharp blade.

In addition to being a ruler, this straight edge has a raised edge to protect your fingers when cutting with a blade along the ruler. It also has a non slip grip on the bottom so it won't slide around.


Hot glue guns are what you'll be using on study models or in places on final models that you wont see.

It's always a good idea to have a backup of glue refills for your guns.

Easy cutters a perfect for cutting things like balsa wood and wooden dowels. There are angle markers to help make cuts at different angles.

These are my favorite pens because they dry quickly and don't require any pressure to write. I use these for sketching and drafting.

Prismacolor markers are my favorite markers to do hand renderings with. These markers are great because they're double sided with a broad side for when you want broad strokes and a point side for when you need to be more accurate.

This is my favorite toolbox because it's compact, lightweight, and has lots of compartments to organize all my tools.

It's always a good idea to have a screwdriver with different heads for things like assembling your parallel ruler.

Especially when first starting out, it's useful to get a set of pencils with varying hardnesses for drafting by hand. This way you can experiment with different pencils and see which work best for you. Helpful tip: HB = #2 = medium hardness.

Lead holders are basically mechanical pencils that have refillable lead. I recommend having at least 3 different colored lead holders with different types of lead so you can easily switch between them while drafting.

A lead pointer is what you'll use to sharpen your lead. Use the two smaller holes on either side of the white pad to control the length of the tip. Place the tip in the larger hole and spin the top around until sharpened, then dip the tip into the white felt pad to wipe off the dust.

I like to use kneaded erasers to control lineweights and when working with charcoal. You usually want to dab on a surface to pickup the graphite or charcoal so as to not smudge the work. To clean the eraser you stretch and knead it and can rip off smaller pieces when working with smaller areas then morph it all back together again.

Gum erasers work well for erasing colored pencils and graphite without leaving smudges.

Plastic erasers are used for general purposes. These are my favorite erasers because they'll erase just about everything and don't smudge.

Eraser pens/sticks are useful when erasing small areas like when lines are close together.

It's always a good idea to have eraser refills.

For areas where you don't have much wiggle room for erasing it can be really useful to have an electric eraser to do the erasing work for you without the fear of ruining the rest of your drawing with erasing strokes.

Electric erasers are small and you go through them pretty quick so I suggest having backups on hand.

Eraser shield are thin metal sheets with different sized and shaped holes that's placed over your drawing to protect the areas around what you're erasing.

Cutting Mat* (one large one small can be helpful!)
Cutting mats double as both a working surface for assembling models and a safe cutting surface that won't damage your desk. Look for "self healing" mats that will mend and hide the cut marks on the mat. I suggest having a large and a small mat.

All purpose glue is a great basic glue for building models, just make sure whatever glue you use that it dries clear.

An adjustable triangle is great because it can be adjusted to any angle.

In addition to an adjustable triangle, I'd suggest having fixed triangles too so you can quickly switch between them and work more quickly. I'd recommend 30-60-90 and 45-45-90 angled triangles.

Drafting dots are round shaped pieces of light adhesive tape that wont tear your drawings.

Drafting tape is an alternative to using drafting dots. It's a light adhesive tape that wont tear your drawings.

A drafting brush is a soft bristled brush that you can use to brush debris off your drawings without smudging them.

A Vyco drawing mat covers your desk to provide a smooth surface for drafting or sketching.

An architectural desk lamp can be mounted to any table without taking up any desk space.

A portable drafting board is great if you want to be able to draft anywhere.


