All Categories > Planned Budget + Goals > How to Use the Planned Budget Sheet in the Finance Planner for Creatives
How to Use the Planned Budget Sheet in the Finance Planner for Creatives
The Planned Budget sheet in the Finance Planner for Creatives is where you outline what you expect to earn and spend each month—before it happens. It’s your space to map out your financial intentions, which the planner then compares with your actual income and expenses to help you stay on track.
💡 This is different from your goals, which are more about what you're striving toward over time. If you're looking to set and track personal or professional goals, check out the Goals guide.
✅ What's Included:
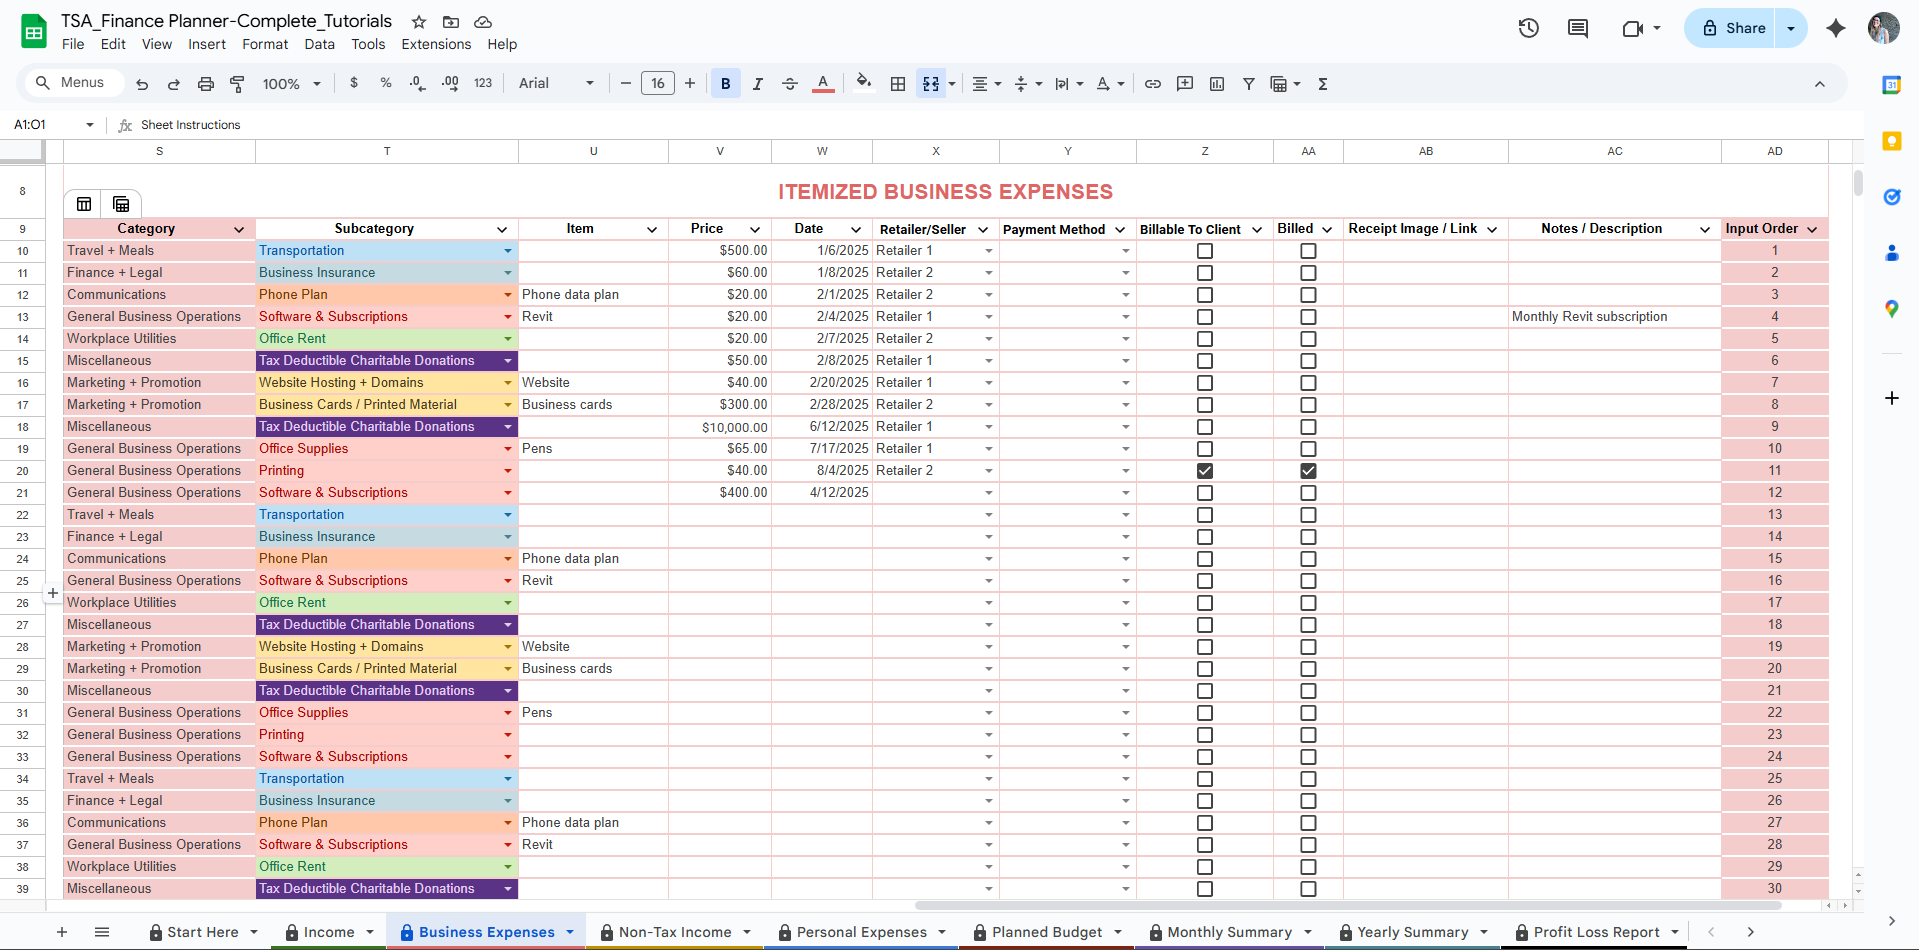
The Planned Budget sheet is organized into four sections to match how your income and expenses are categorized throughout the planner:
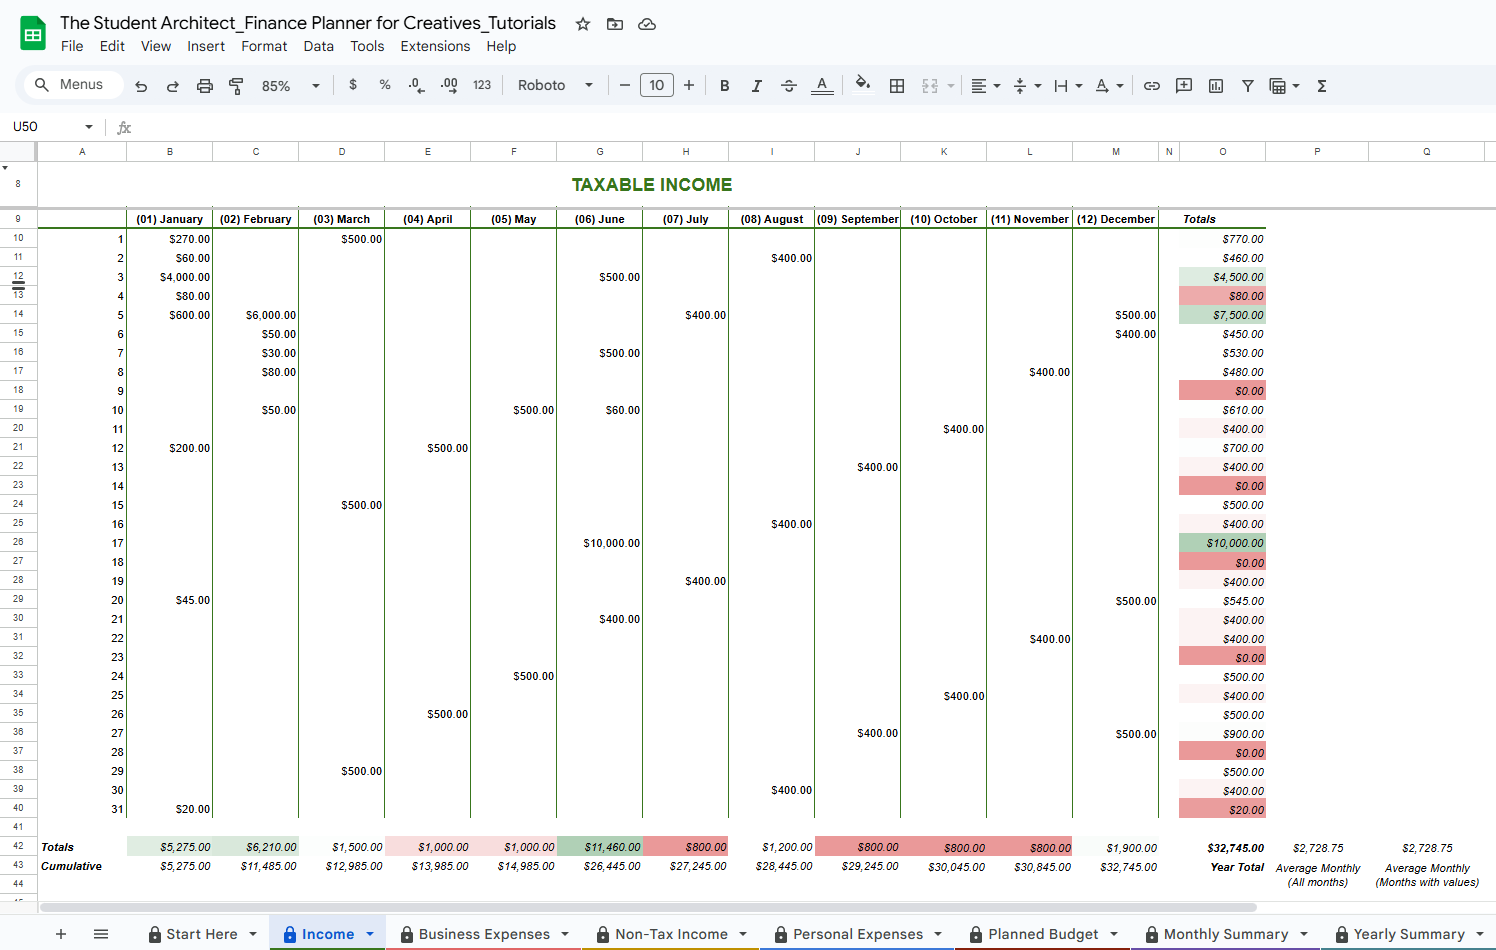
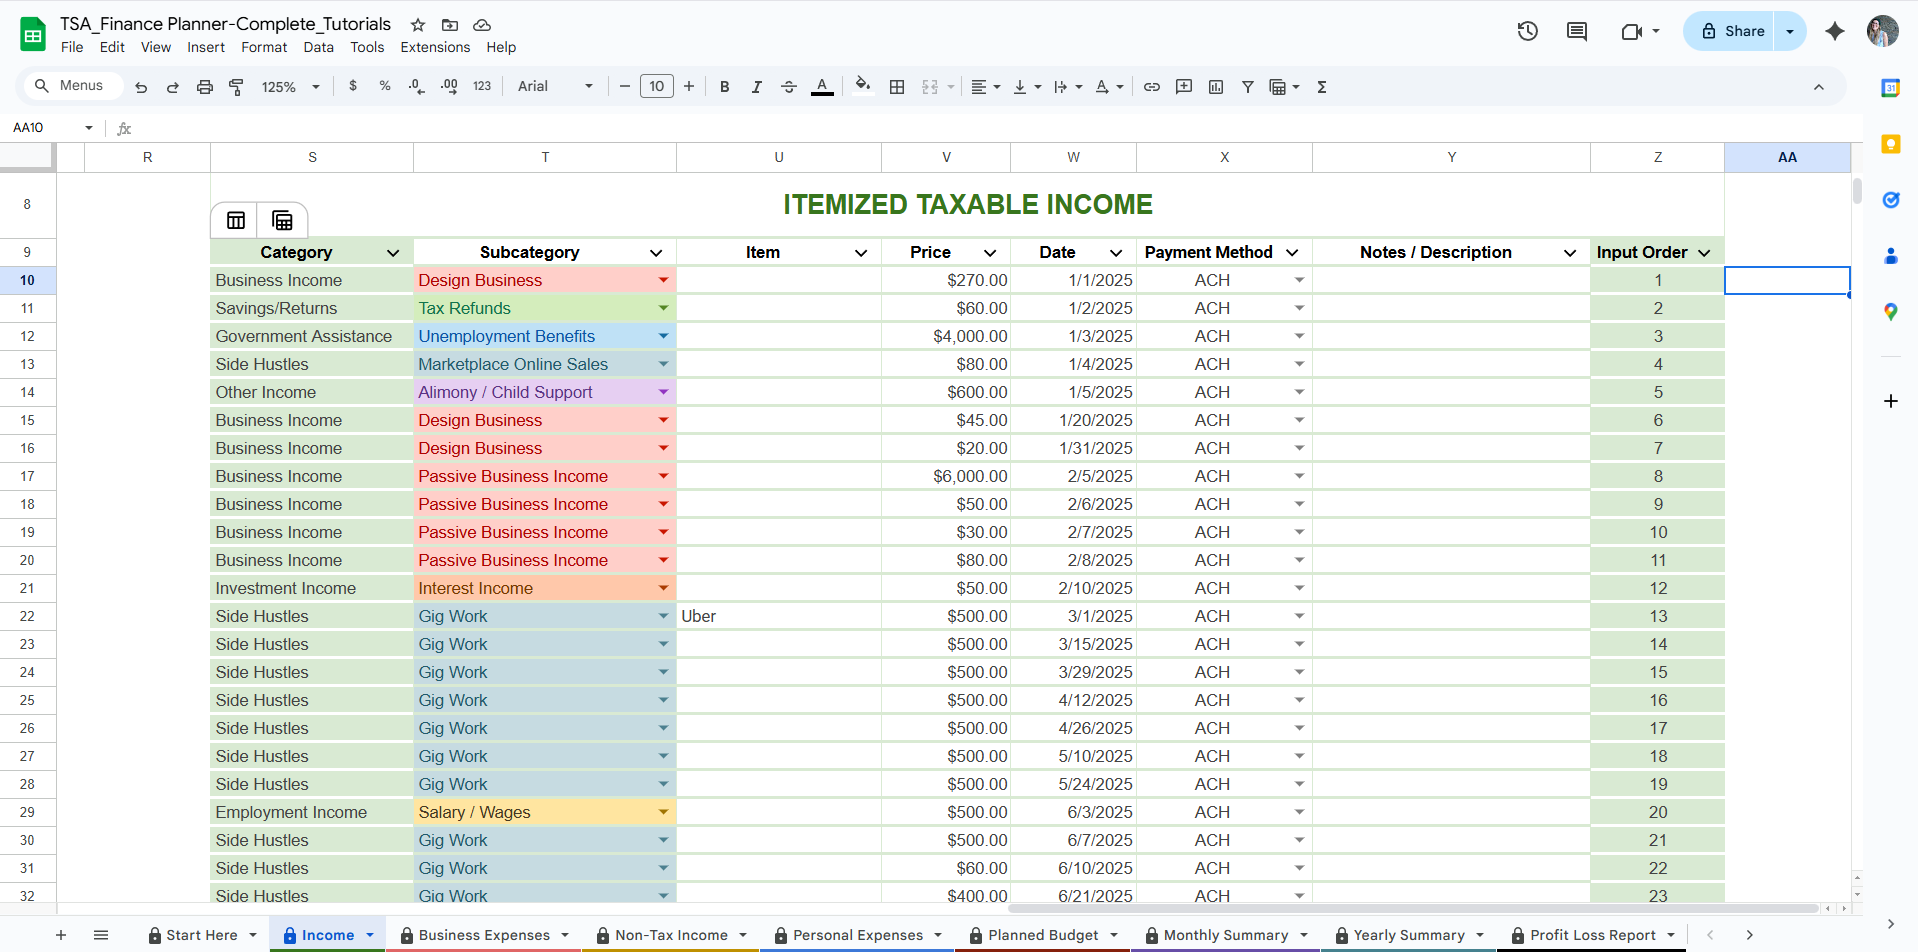
Planned Taxable Income
Planned Business Expenses
Planned Non-Taxable Income
Planned Personal Expenses
Each section is grouped by category, with columns for each month and totals along the side and bottom.
✍️ How to Fill It Out:
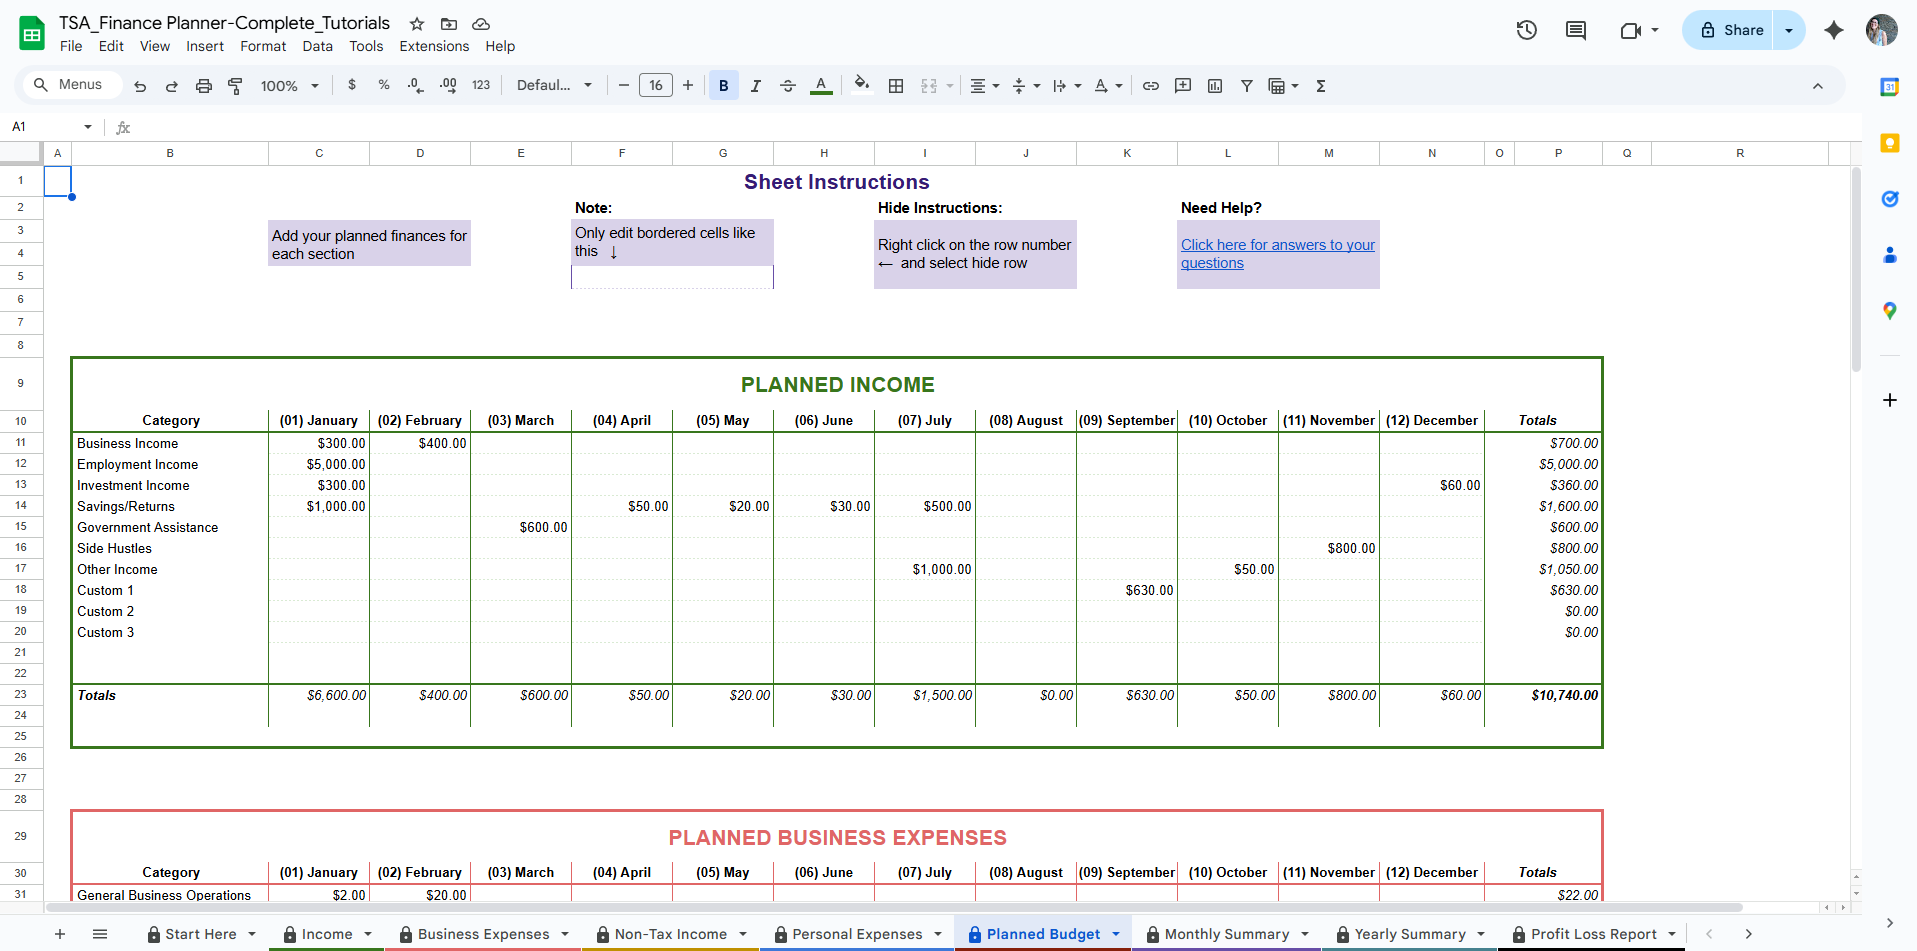
Locate the correct section based on the type of transaction (income vs. expense, business vs. personal).
Enter your expected monthly amount for each category. For example:
If you expect to earn $2,000 from business income in March, enter 2
000in the Business Income row under March.If you expect to spend $150 on Communications subscriptions monthly, add
150in the Communications row for each month.
Totals will automatically calculate by category, month, and total for the year, giving you an at-a-glance look at your planned cash flow.
🔄 What It Connects To:
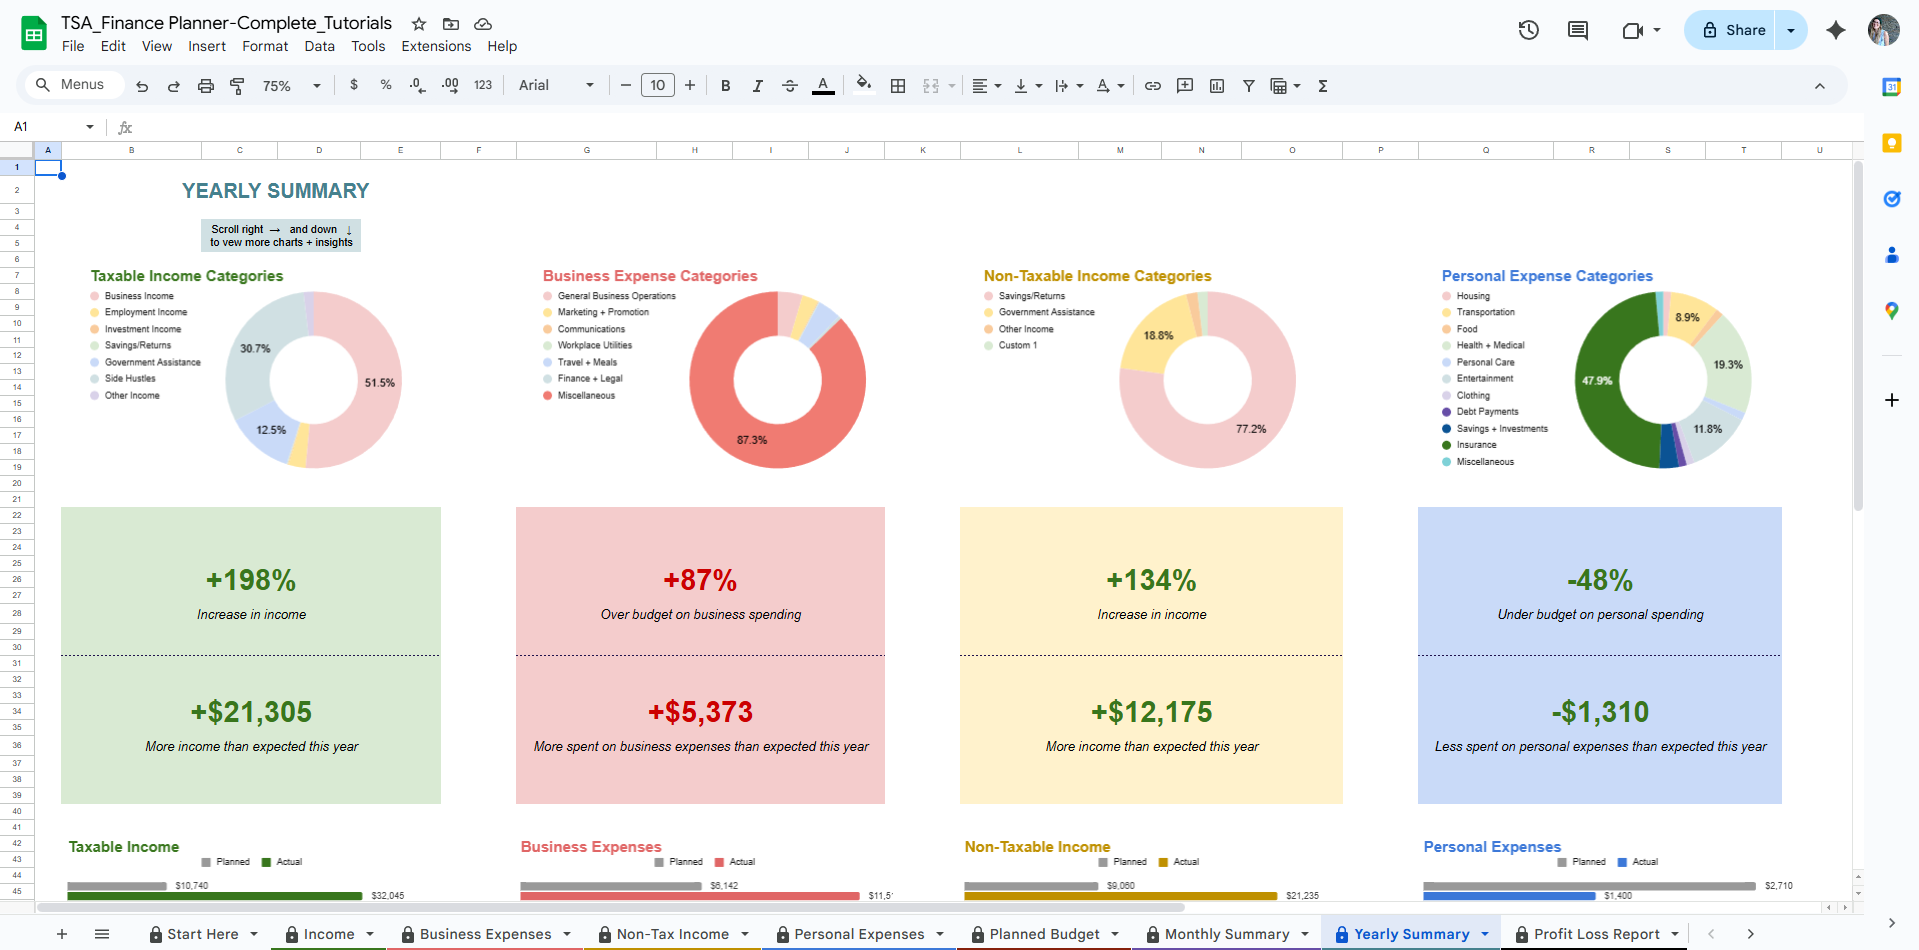
These planned numbers appear throughout the Summary sections so you can compare Planned vs. Actual income and expenses month by month and year as a whole.
They help identify areas where you're overspending or under-earning compared to your expectations.