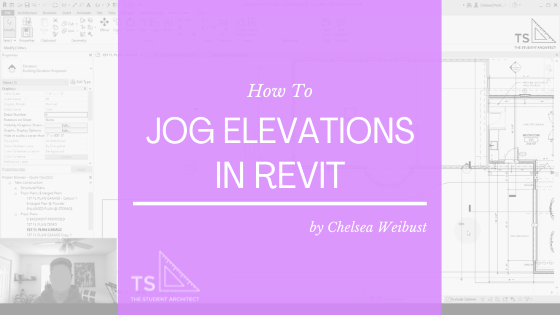
Have an object obstructing your elevation view? In this quick tips video, I'll show you how to jog your elevation cut line so you can cut beyond those objects.
Video Transcript
Hey, happy Sunday!
I'm Chelsea from TheStudentArchitect.com and today I'm gonna show you how to jog your elevations in Revit.
Now before we get into it, if at any point along the way you find that you like this video, don't forget to hit that THUMBS UP and if you haven't already, don't forget to SUBSCRIBE and make sure you TURN ON THE BELL so you don't miss out when I post new videos.
And if you're interested in any of my paid or free courses, you can go ahead and check them out over at TheStudentArchitect.com/classes and you can see which classes are now open for enrollment. Alright, let's get into it!
So let's say you have a project and you're trying to show an elevation but part of a building or something else is blocking your view from where you want to cut the elevation from. So I have a past video showing you how you can jog your section cuts, so I recommend checking that out if you wanna see how to do that as well, but you can actually do that with elevations too.
See also: How to Jog Sections in Revit
So right here I have an elevation and it's a little bit less intuitive when you're working with elevation cuts rather than section cuts because with the section cut you can see exactly where that line is. For the elevation, it's actually hidden until you click on a certain element of that elevation symbol. So if I click on the box here, let's zoom in a little bit. If I click on the box here, you can see that we have the option to add (or remove) other views to this elevation symbol. But, if I click on one of those arrows that's pointing toward a view, it'll then show you where that elevation cut is.
So if I zoom out you can see the extents of the view, the width of the view, and you can also see the extents that are indicated by that dashed line. So, when you're clicked on this line, you can see up in the Ribbon, there are a couple of options here where you can change the Size Crop, which we're not going to get into, but you'll also see an icon for Split Segment.
So, if I click on Split Segment and hover over this line, it will slice that line wherever I click my mouse. So, let's say I want to see the front of this building, but I also want to cut down here. I don't want this portion of the building to interfere with the elevation, so I want to cut beyond that. So, I'm just going to snip the line here. And you can see, depending on which side of the line I hover over, it'll either bring this portion forward or backward, or it will bring this portion forward or backward. This is the portion I want to stick with so I'm just going to slide it up past this portion of the building here, and I'll click my mouse to place that segment.
And now that we've made that slice, you can see we have these shape handle arrows here. Let me double Escape. Let's go back into it. And you can see, now that we've placed in a snip, we can actually change where these jogs happen. So you're not locked into anything once you snip that line. So I can drag that one closer to the exterior of the building. I can drag this one up closer to this elevation, or back more if I wanted to. And I could do the same with this side as well.
So now if I go to this elevation, I'll just click on the arrow there, you can see that there's nothing obstructing that view, whereas, if I CTRL + Z (undo) a couple of times, you can see now the view is obstructed by the bump out in the building. If I CTRL + Y (redo) to go back to where we were, you can see it's now unobstructed.
Now, if I ever change my mind and I want to bring the line back to where it was, or remove the jog, let's go back to that view. Let's close out these other views here. Let's go back to that view, again I'm just going to click on this arrow here where it has the number 4, and that will bring back where the elevation cut line is. And all I need to do is just slide it back in line with the original cut, or I could have slid this one back to align with the other segment, and it will just mend itself back together.
So I really hope that you found this video helpful and if you did, please hit that LIKE button. And if you haven't subscribed yet, go ahead and SUBSCRIBE and make sure you TURN ON THE BELL so you get notified when I post new videos.

Learn how to make better models faster in my comprehensive, self-paced online course
If you're interested in a more structured way of learning Revit, go ahead and check out my FOUNDATIONS OF REVIT course over at TheStudentArchitect.com/classes, and there you'll find all kinds of information about how the course is structured, what I'll be teaching, and all kinds of things like that.
I hope you have a great day and I'll see you next Sunday!
Happy modeling!
♥ Chelsea

Related posts


Popular posts