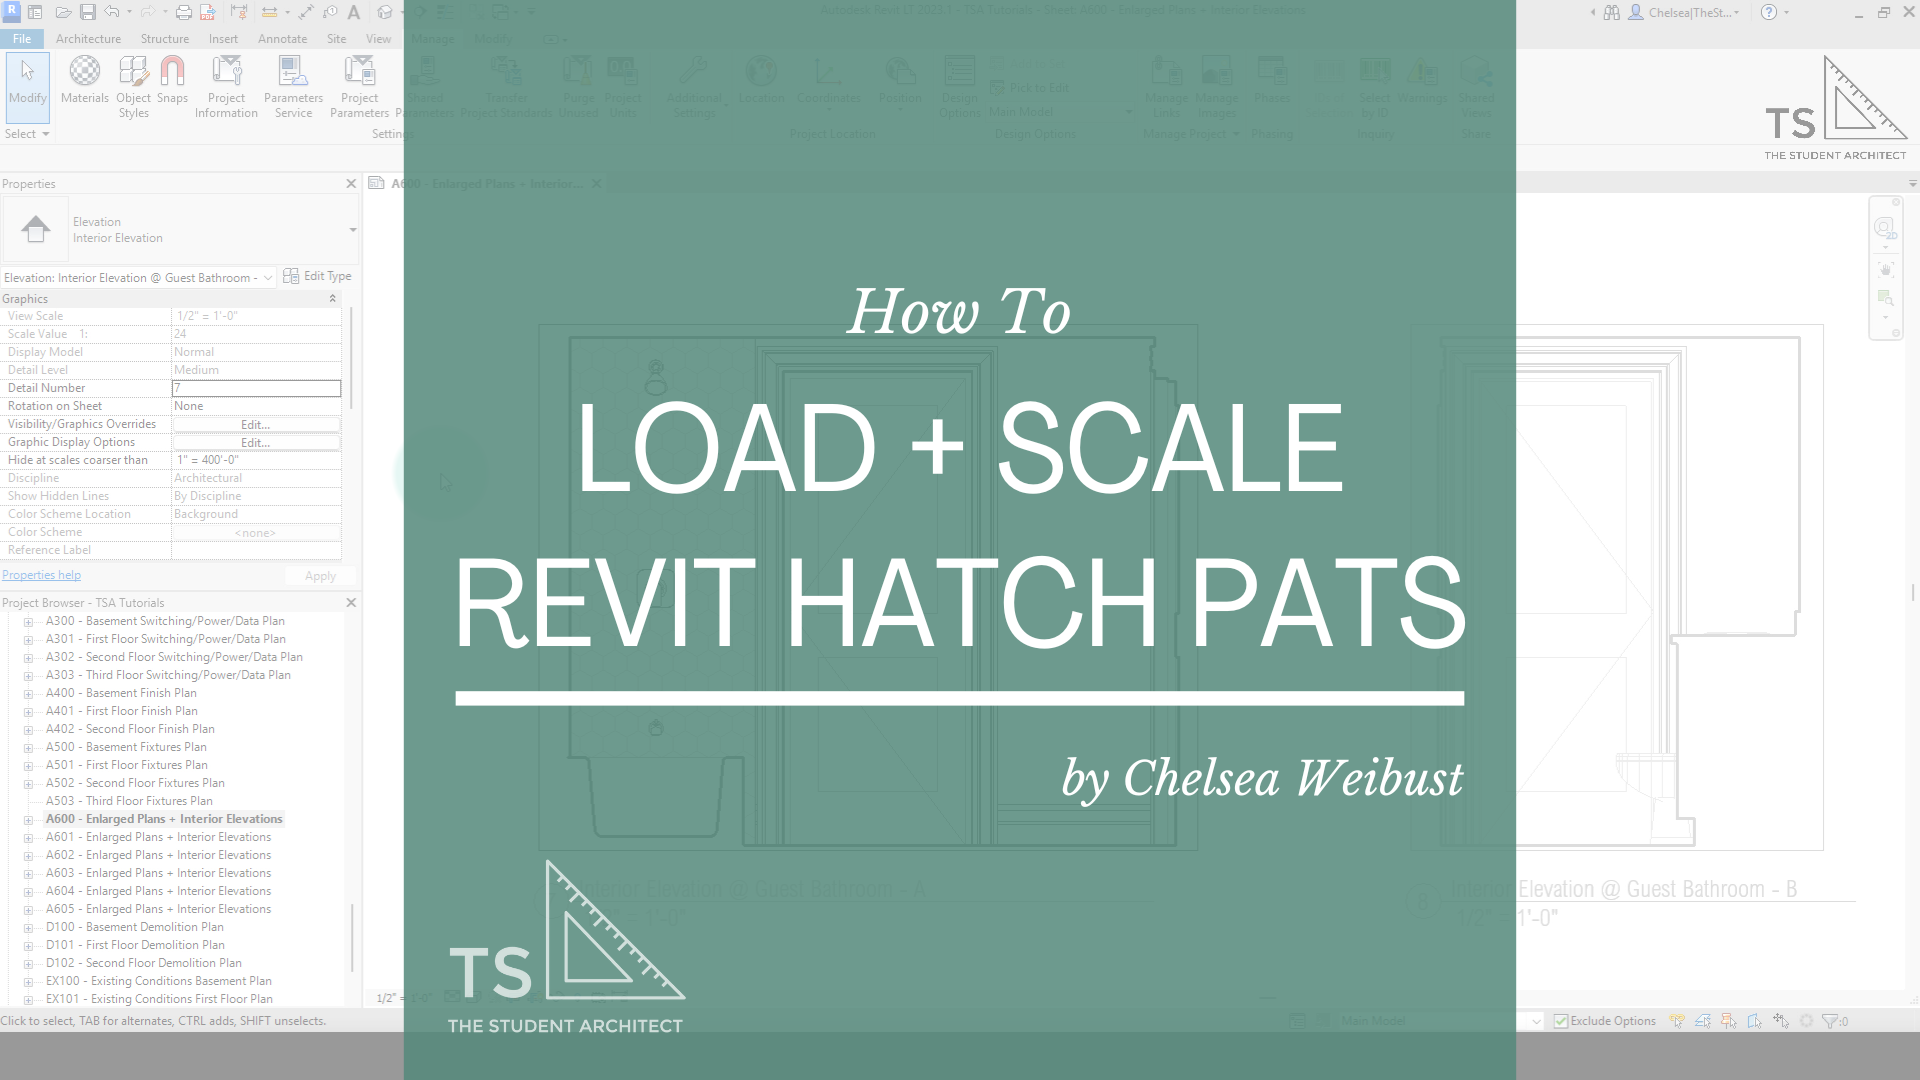
Here I'll show you a quick way to hide view tags at different scales in Revit. This applies to both elevation and section views, will save you tons of time, and make your drawings cleaner!
Video Transcript
Hey, happy Sunday!
Chelsea here from TheStudentArchitect.com and before we begin I wanted to remind you that my FOUNDATIONS OF REVIT course is now OPEN FOR ENROLLMENT.
So if you've been looking for a more structured way to learn Revit, then I highly recommend taking advantage of my EARLY-BIRD SALE which is available for a short period of time. So if you're looking for more information, you can check out the link above, the link down in the description box below, or you can head over to TheStudentArchitect.com/classes and there you'll find my FOUNDATIONS OF REVIT course.
Now, today I'm gonna show you how to hide view tags in certain views at certain scales in Revit.
So if you look at this floor plan I have here, if we zoom into the powder room, you can see that I have a callout for an enlarged plan and I also have these interior elevation views. So right now we're looking at the overall floor plan but it's a little bit too busy to have all these interior elevations on this view as well as all of the other information we have here, and it's actually unnecessary because if I go over to the callout here for the enlarged plan, I'm just going to double click on the view head there, you can see that we have these view tags on this plan already. So it's kind of redundant to have them in two places and it's a little bit too busy on the overall plan anyway.
So luckily there is a very simple way to hide these views at different scales without individually hiding them or hiding all of the elevations. So what I can do is click on this view here and I can see what scale this view is at. So if we look over in the Properties Panel, you can see that the view scale is set to 1/2" = 1' - 0". And if I click in this window to activate this floor plan, I can see that this view is set to 1/4" = 1' - 0".
So what I can do is I can click on this view, and in the Properties Panel I can scroll down and you can see "Hide at scales coarser than" and I can choose whichever scale I want. So now if I click on the enlarged plan, I can see what scale that's set to. So that's also set to 1/2" = 1' - 0".
So what I wanna do is I want to hide these view tags at scales coarser than 1/2" = 1' - 0".
Continue reading below
So let's find that there, I'm just going to scroll up to find 1/2" = 1' - 0" and you'll see that it's now hidden from this view. And if I click over to the enlarged plan, you can see that that view tag is still visible in this plan.
So let's go back over to the floor plan and I'm just going to CRTL + Click to select all of these interior elevation views, and I'm going to hide at scales coarser than... and you can see it has hidden that one view but you can still see all of the other views and the sheet reference.
But, if I hide all of them that are referenced within this particular view tag, you'll see that whole tag goes away. So the sheet reference as well as all of the views all go away, and if I go back over to this enlarged plan, you can see that all of that information is still in that plan and we get to clean up our overall plan.
So that option to "hide at scales coarser than" whatever you set it to is not exclusive to elevations. You can see that I can do that for sections as well. So if I click on this section here, you can see in the Properties Panel again I can go to "Hide at scales coarser than" and again this view is set to 1/4" = 1' - 0" so I would just need to set it to a scale larger than that. So let's set it to 3/8" = 1' - 0" and then you'll see it disappear from that view.
If I ever change my mind and I have trouble finding that view, I can always find that view within either the Project Browser or on a sheet itself, and then when I click on the view (or view name) you can see that I can change that setting. So let's change that back to 1/4" = 1' - 0", go back to our overall floor plan, and then you'll see it's back.
So I really hope that you found this video useful.
Learn how to make better models faster in my comprehensive, self-paced online course
And again I want to remind you that for a limited amount of time I have my FOUNDATIONS OF REVIT course OPEN FOR ENROLLMENT at a DISCOUNTED PRICE for an EARLY-BIRD SALE!
So if you're really interested in this course, then I highly recommend getting in now so that you can take advantage of this discount.
If you want to learn more information about the course, again you can always click on the link above, you can click on the link in the description box below, or you can go over to TheStudentArchitect.com/classes and there you'll find my FOUNDATIONS OF REVIT course.
If you haven’t already, don’t forget to LIKE and SUBSCRIBE
I hope you have a great day and I'll see you next Sunday!
P.S. Don't miss out on the Foundations of Revit Early Bird Sale!
Happy modeling!
♥ Chelsea


