Thinking about leaving firm life behind to go out on your own? Whether you’re daydreaming about flexible hours, better clients, or finally doing work your way, the leap into freelancing or starting your own business can be both exciting and overwhelming. In this post, I’m sharing what I wish I’d known before I made the jump—from mindset shifts to real talk about money—so you can feel more prepared, confident, and grounded as you move toward freedom.
How to Load and Scale Hatch Patterns in Revit
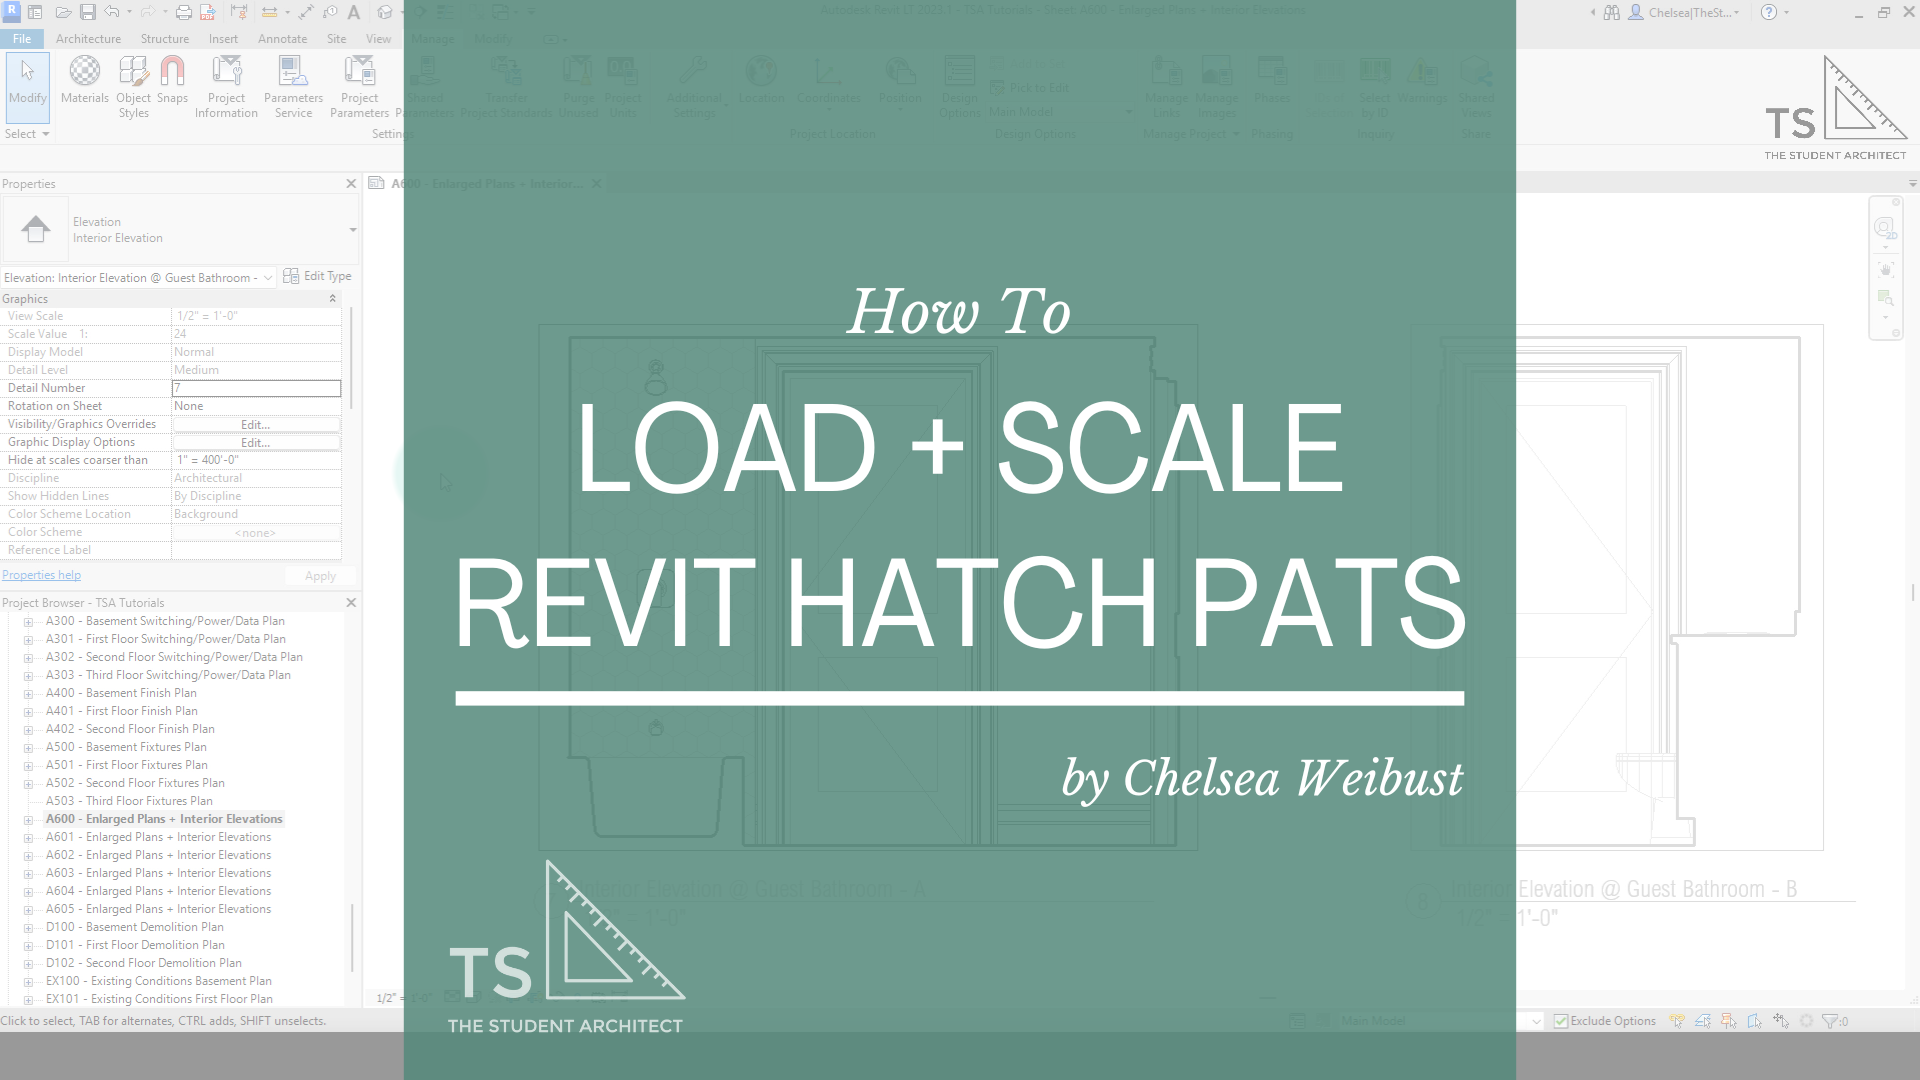
If you’re confused about how to use, load, and scale my Revit hatch patterns, watch the video or follow along with the transcript below!
Video Transcript
Hey! I'm Chelsea from TheStudentArchitect.com, and today I'm going to show you what to do after you've purchased one of my Revit Hatch Patterns.
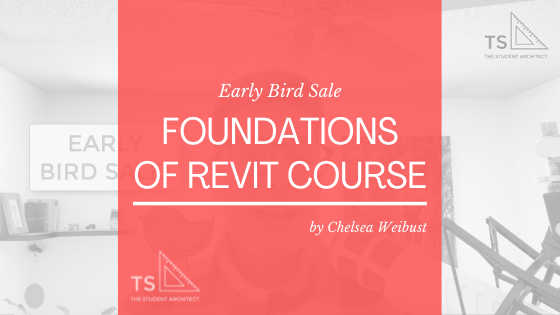
Side note: If you'd like a more structured way of learning Revit, I highly recommend checking out my Foundations of Revit online course.
Now, before we get started, don't let yourself get fooled by someone who's trying to sell you the same hatch pattern at different scales. I'm going to show you in this video that you don't need to have a different pattern at different scales to be able to see a pattern at different scales.
So make sure when you're buying hatch patterns from anybody, that you're really looking into what you're getting and knowing how use can use these hatch patterns.
Any hatch pattern that I have, you have one variation of each pattern that you get, and you can scale it yourself when you import it into Revit. And all of the patterns I have, if there are variations, they are variations in proportion. So not just scale, or NOT scale, but proportions.
So, now that we have that out of the way, I want you to protect yourself, know what you're getting, and make sure that you're really actually getting value for what you're paying for, and not thinking that you're getting 9 different patterns when it's really just the same pattern at different scales. So, let's do this.
So, you're probably wondering, how can you import hatch patterns into your Revit files? You'll notice that you can't just drag and drop a hatch pattern into your window like you could for other types of families. So there's a different way that we have to do this, and there's actually a few different ways that you can go about it.
So, you could do it by, let's say, clicking on a surface that you already have in your model and changing the hatch pattern from the Edit Type dialogue box. You could go up to the Manage Tab on the Ribbon and click on Materials to go to the materials palette. Or you could create a filled region, and you can import or load a pattern that way.


So, let's just go with this wall option here. Let's say we have some wall tile but we're not crazy about the pattern, we want to go with something else. So I'll click on the wall, 'ET' on the keyboard to edit type. Let's go to Edit, Tile, don't worry about the construction here. All we're worried about right now is this right here, the foreground pattern. That's what you're going to see when you look at the face of an object. So this is what we want to change, so let's click on that box there, and here you can see all of the different patterns you have in your project.
Now when you purchase a hatch file from me, a hatch pattern file from me, you will get a model pattern, not a drafting pattern. There are some differences between model and drafting, model patterns are much more adaptive and interactive and usable and you can find out more information on the difference between those two in my How To Create Hatch Patterns in Revit video.
But for now, let's say that we're going to add in a new pattern. You could also edit a pattern but let's create a new one. So, I'll hit the new icon there. And we're not going to do anything with naming or anything, we're just going to go to Custom, Browse, then you'll browse to wherever you saved the pattern on your computer. And let's say we want to go with the Octagon Dot 45 hatch pattern. I'll hit Open.
And you can see a preview of what this pattern looks like. Now, if you decide that the scale of this is not what you wanted to be, you wanted it a little bit smaller or a little bit bigger, you can change the import scale here. So let's say I want this to be 2 times bigger, you can see that change. Let's make it 4 times bigger and now you can really see that change. So, you don't need to have a whole separate file to create the same pattern at different scales, you can do that all right here. And you can always change the scale later in your project if you want to.
So, just so we know, let's write in that we have this at 4x scale. I'll hit OK, hit OK again, hit OK and hit OK and so many OKs! And now we can see that different hatch pattern that we just loaded into the project now on this wall.
Now let's say this is a little bit too big and we want to go with that original scale, we can do that. So, 'ET' on the keyboard to go to Edit Type. Or we could go to Manage, Material. We can find that tile material that we just edited. And what we can do here, if we want to keep this same scale here in the project but we want the same pattern but at a different scale, we can duplicate this pattern. Let's say we want this at 1x scale, and let's change this to '1', hit OK, hit OK again, and now it's a much smaller scale.
Now, like I said, you could also use these hatch patterns for filled regions as well. So, if we type 'FR' on the keyboard to create a filled region. I don't know why we're putting one here but, just for the sake of showing you how this all works, let's go to Edit Type, let's create a new one, let's call this 'Stone'.
So the default here is a drafting pattern, so we're going to go to Model. Let's create new. Again, we're not going to type anything in, we're just going to go to Custom, Browse, we're going to find whichever one we want, let's say the Hexagon here. Actually, let's go with the Dog Bone for this one. Hit OK, hit OK again, and now we have the dog bone pattern filled region. Whoops, let's go to Edit Type, let's change the pattern color to black and now we can see it.
So, these are just a few different ways that you can use these patterns in your projects. I really hope that you found this tutorial or video helpful. I hope it cleared up some questions that you may have and showed you how you can actually use and load in these hatch patterns.


Whether or not you choose to purchase a hatch pattern package from me or someone else, just make sure you really understand what you’re getting. Remember, you don’t need to buy the same pattern at different scales, you can easily scale any pattern right in Revit!
Happy modeling!
♥ Chelsea
Featured

More posts you might like:
Featured


Burned Out and Behind? Here’s What to Focus on When You’re Running Out of Time
Feeling overwhelmed and behind on your final studio project? This post is your no-fluff guide to making smart, strategic moves when time (and energy) are running low. Whether you're buried in unfinished drawings or second-guessing everything, you'll learn how to simplify your scope, stay focused, and finish strong—even if you're totally burned out.
How to Change Topography Depth in Revit 2024 or Later
Hey Friends! If you recently switched over to Revit 2024 or 2025 like I did, you probably have a lot of questions about some of the latest changes. For one, Toposurfaces are now called Toposolids, and they work very differently. One of the questions I keep getting asked is now to change the depth of the topography in the latest Revit versions. In this video, I'll show you how to do it.


Hey Friends! If you recently switched over to Revit 2024 or 2025 like I did, you probably have a lot of questions about some of the latest changes. For one, Toposurfaces are now called Toposolids, and they work very differently. One of the questions I keep getting asked is now to change the depth of the topography in the latest Revit versions. In this video, I'll show you how to do it.